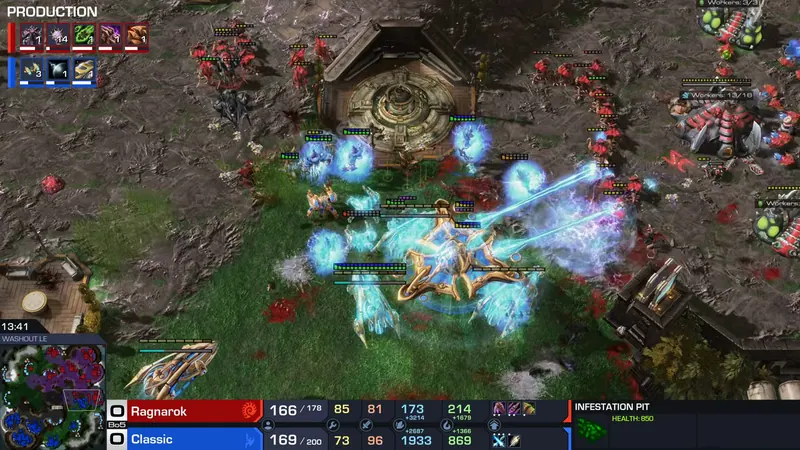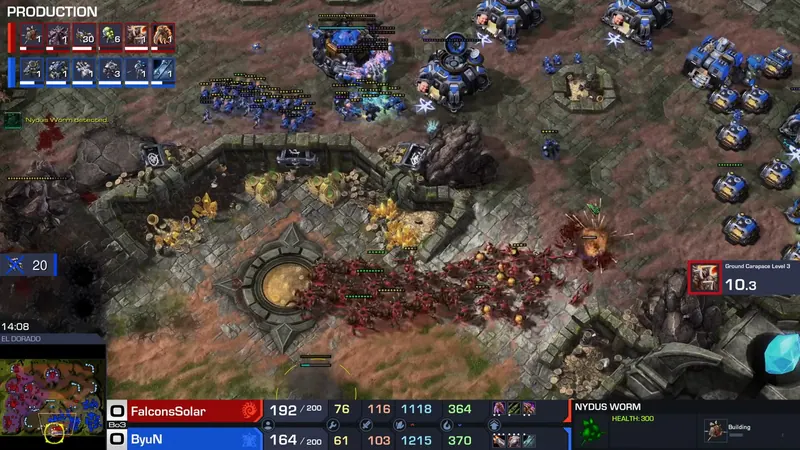
Other series
ByuN vs Rogue, then herO vs Rogue
Rogue 2-1 ByuN; herO 2-1 RogueCast by LowkoTVPublished Nov 20, 20266 gamesWatch on YouTube ↗
Game 1 · Sanctuary
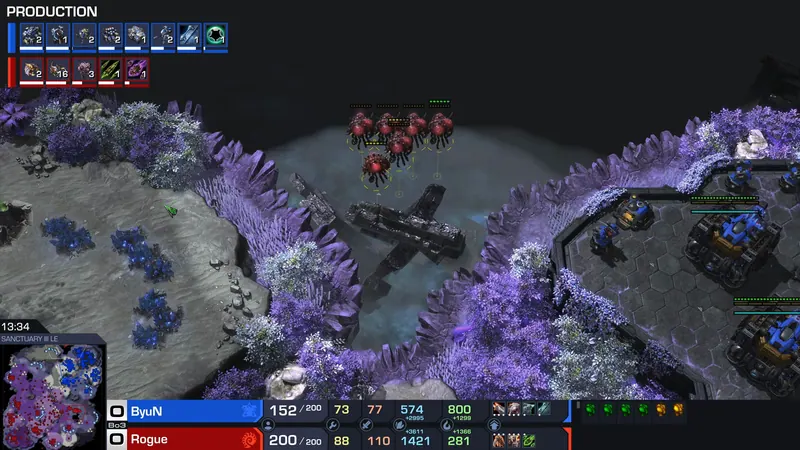
Watch game 1 from 0:00 ▶Rogue's empty overlord decoy breaks ByuN's defense
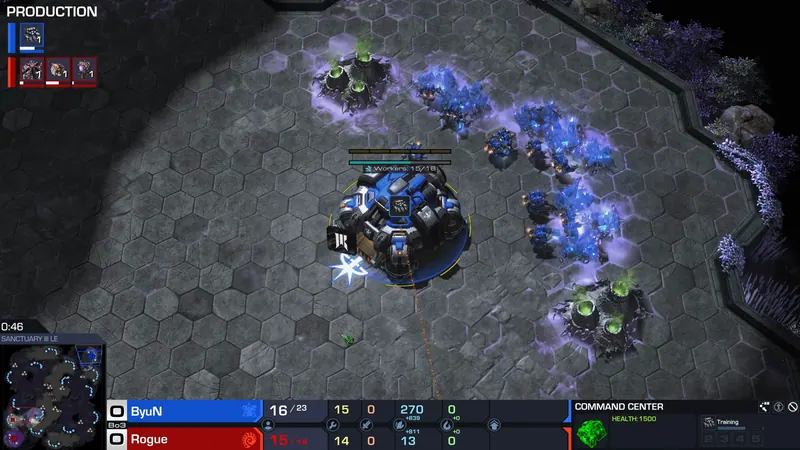
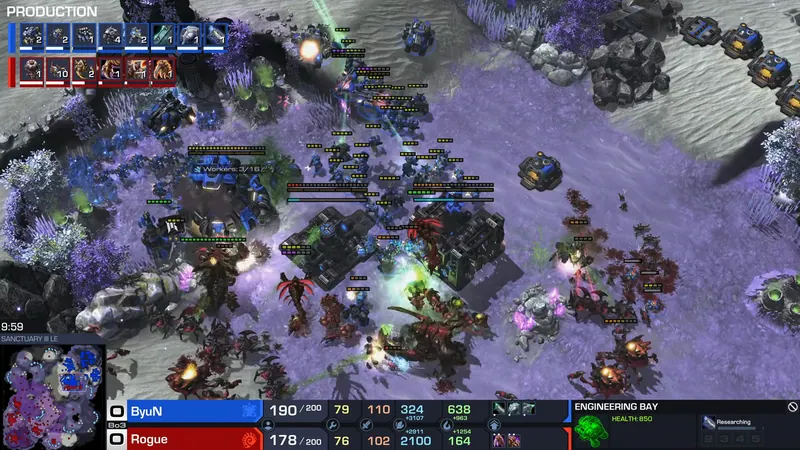
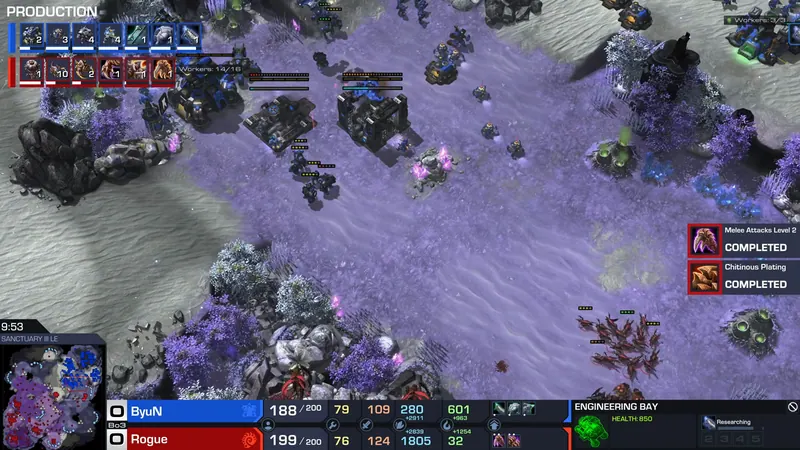
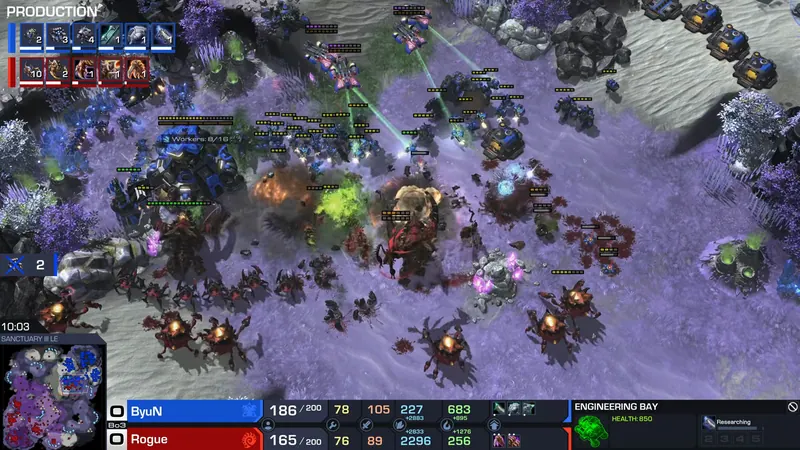
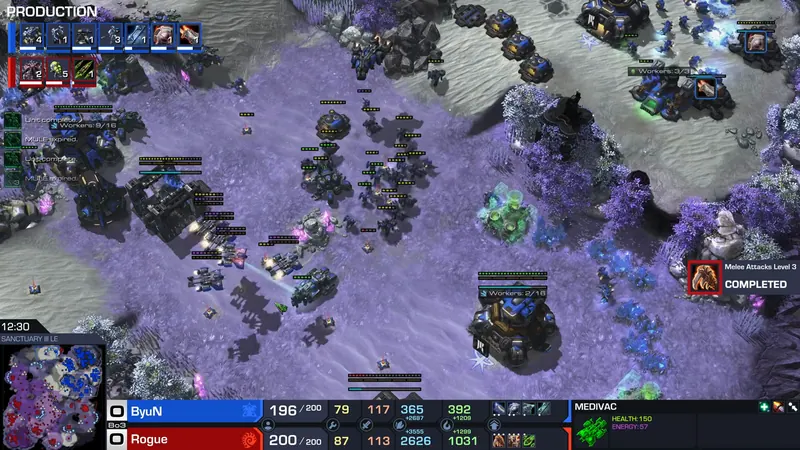
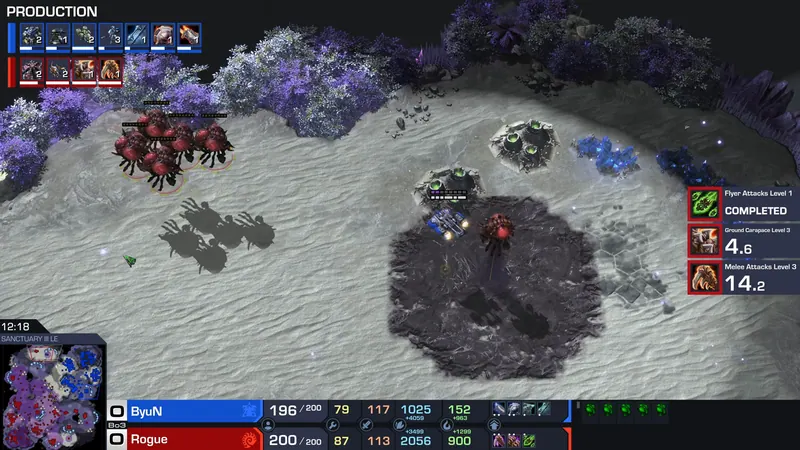
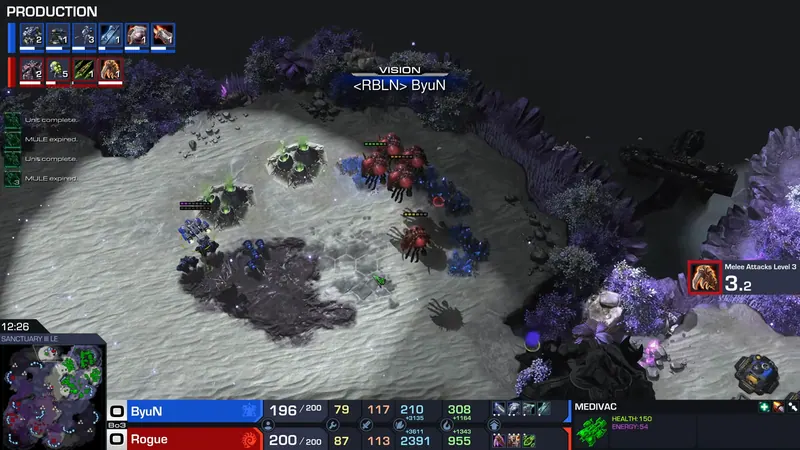
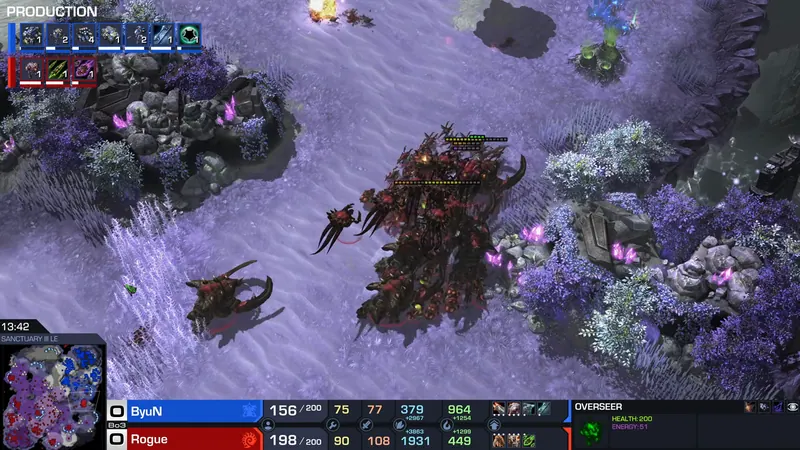
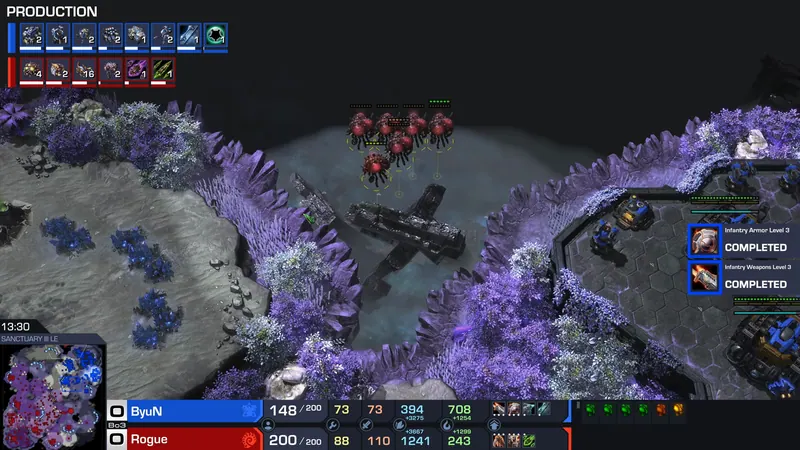
ByuN opens CC first and skips scouting; Rogue takes fast third and skips ling speed. Hellbat pressure fizzles. Rogue hits a pre-ghost timing with ultras, vipers and blinding clouds, killing two command centers, but ByuN holds his planetary and resets. A fake empty overlord drop pulls ByuN's army away, and the fourth wave finally kills the planetary to end it.
Key moments
- 01Opening
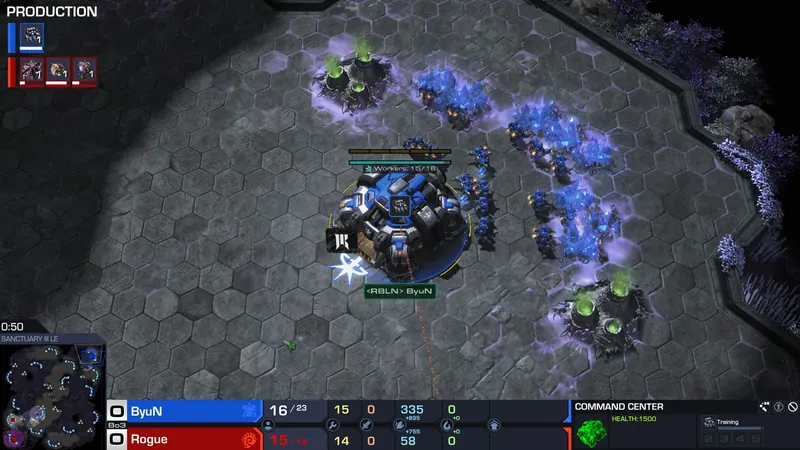
ByuN opens CC first, no scout
Command Center first goes down with no gas or Barracks; no SCV scout.
Why it matteredGamble pays off because Rogue opens Hatchery first; ByuN out-macros.
- 02Scout
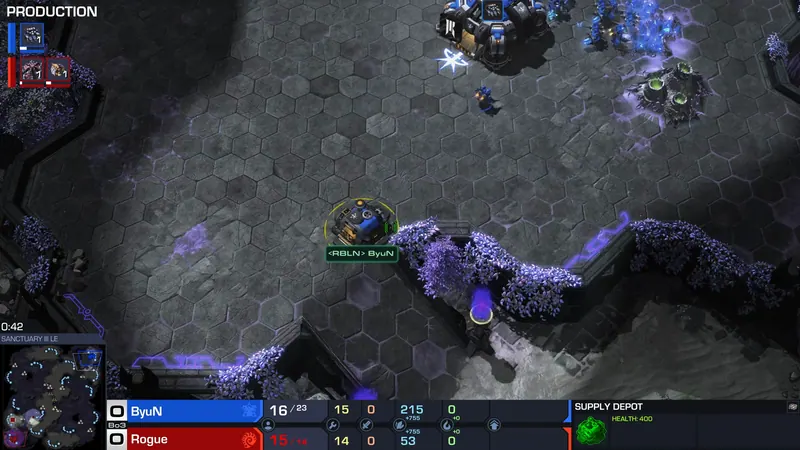
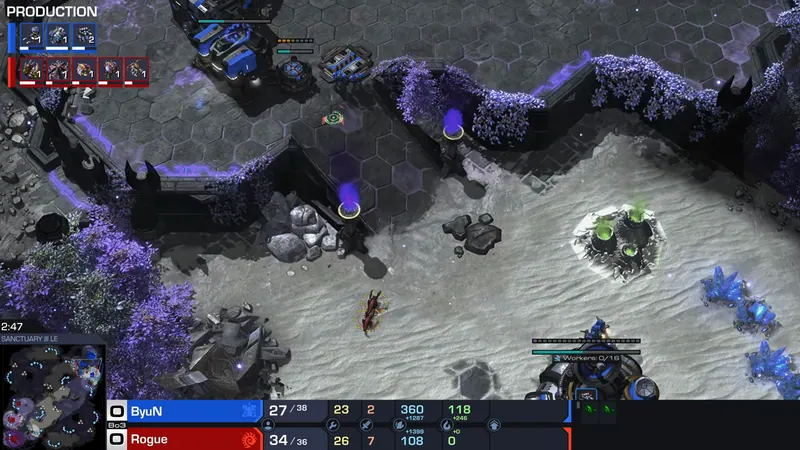
First blood: lings find no Reaper
Zerglings scout outside ByuN's base and kill two Marines.
Why it matteredRogue confirms no Reaper and skips ling speed for faster third.
- 03Turning point
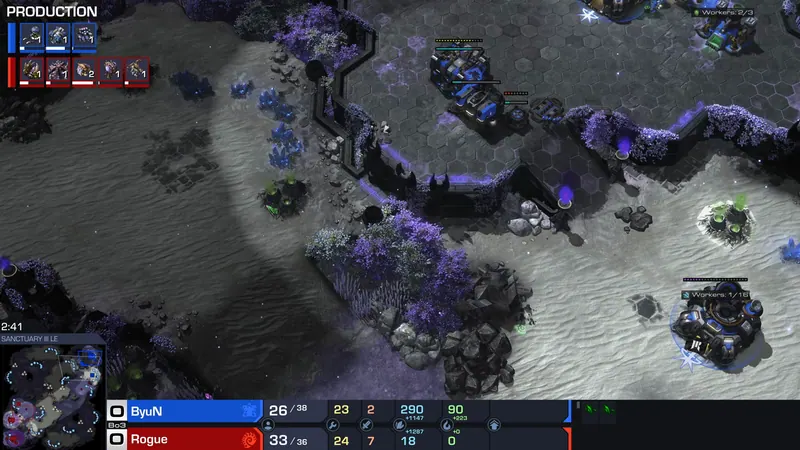
Blinding clouds kill two CCs, planetary holds
Ultras and Vipers hit ByuN's third; two Command Centers die, but mass repair saves the planetary.
Why it matteredArmy trade resets; ByuN keeps the choke and survives the first ultra wave.
- 04Harass
Five empty overlords pull ByuN's army away
Rogue flies five empty drop Overlords into ByuN's main; ByuN sends most of his army to defend.
Why it matteredThe fake drop lets Rogue's ultras push elsewhere and break through.
- 05Finish
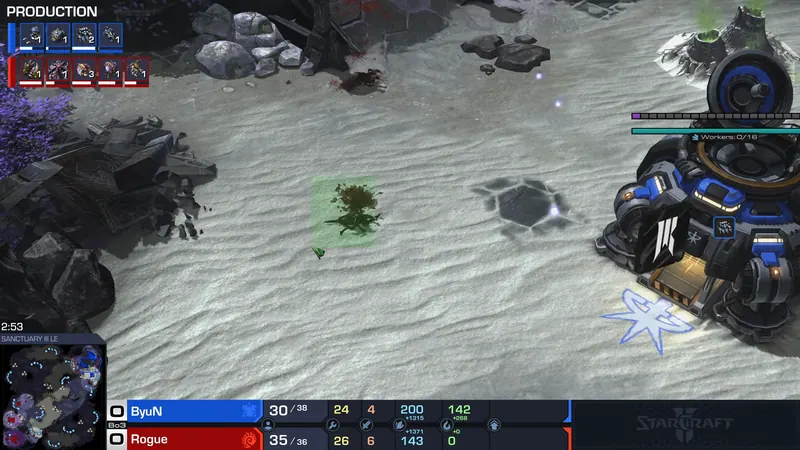
Fourth wave kills the planetary
Corruptors and lings finally destroy the mass-repaired planetary.
Why it matteredByuN loses his anchor and taps out.
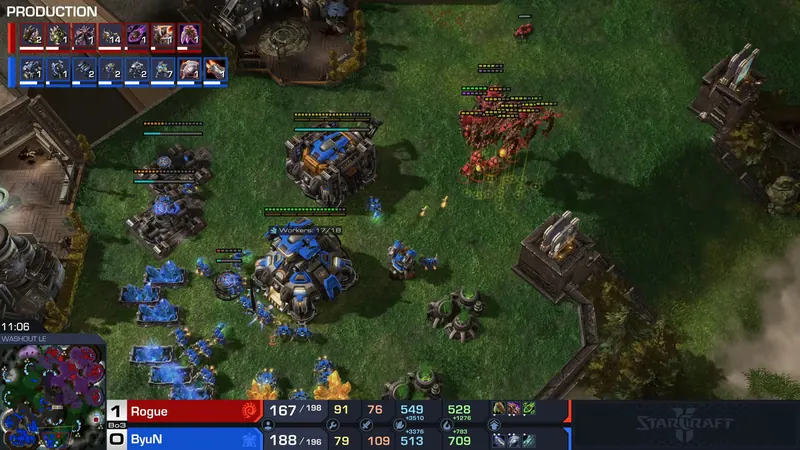
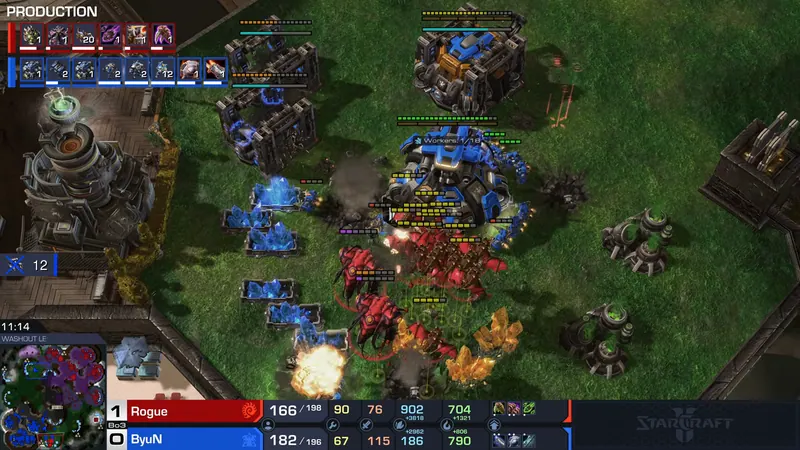
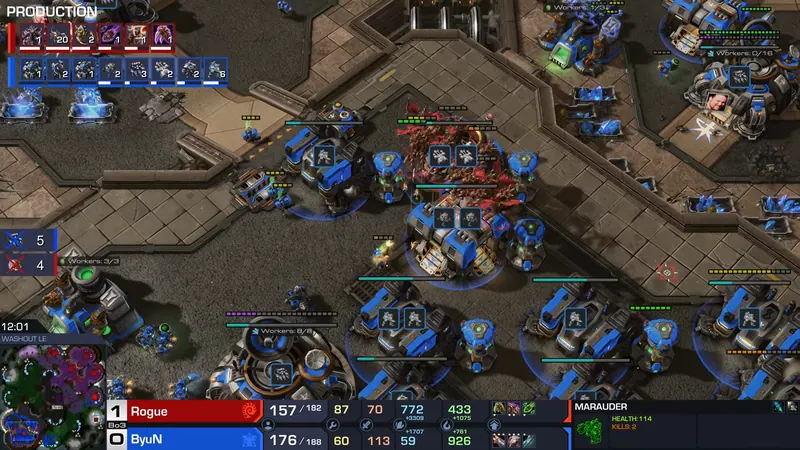
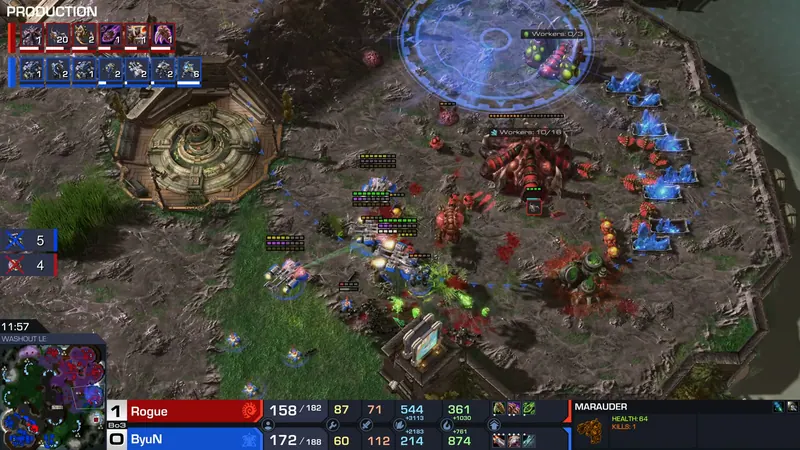
Game 2 · Watch Out
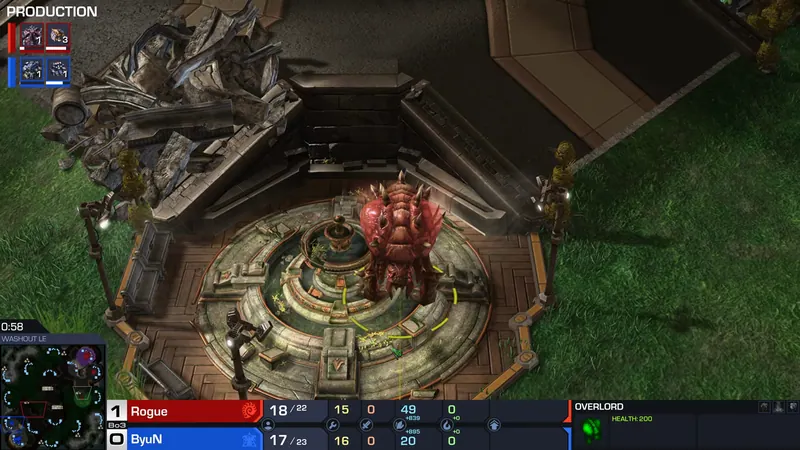
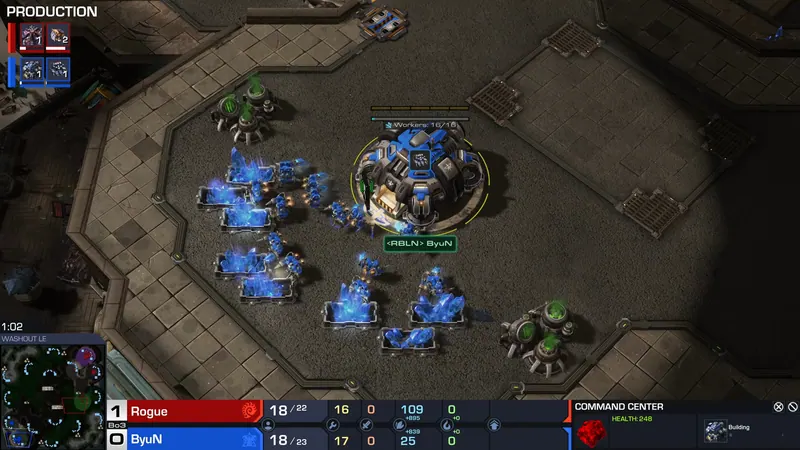
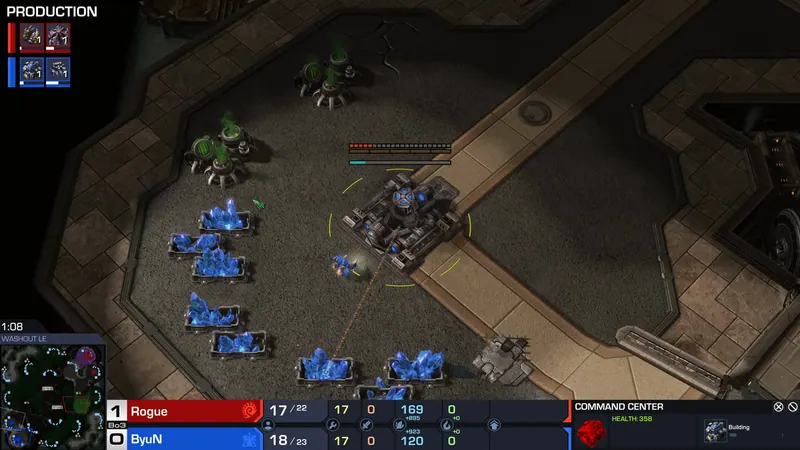
Watch game 2 from 15:18 ▶ByuN's macro edge outlasts Rogue's Mutas
ByuN goes CC first again and gets away with it, building a huge early lead. A scan wipes creep, but Rogue's ling runby kills 16 SCVs and his Mutas keep ByuN pinned. ByuN loses units to overcommitment, yet Rogue's bases fall faster; ByuN's macro edge wins out.
Key moments
- 01Opening
ByuN opens CC first again
Command Center first with no gas or SCV scout.
Why it matteredRogue goes Hatchery first, so the greed goes unpunished.
- 02Scout
Scan clears a dozen creep tumors
ByuN's scan kills creep tumors and a Queen near Rogue's third.
Why it matteredRogue loses map vision, letting ByuN pressure more safely.
- 03Turning point
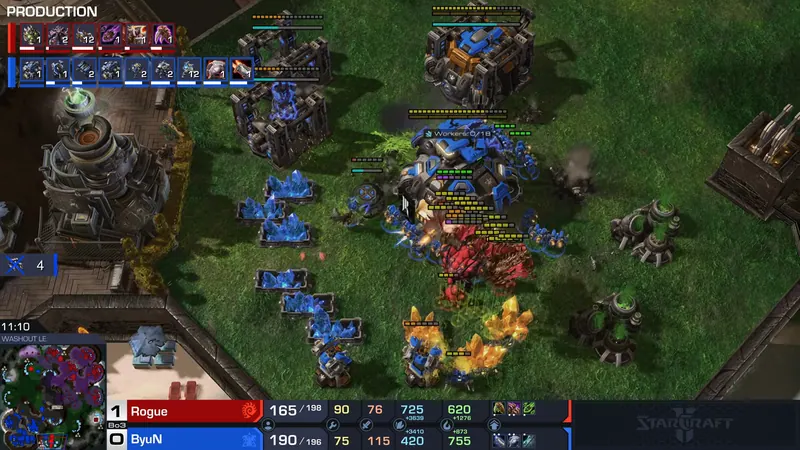
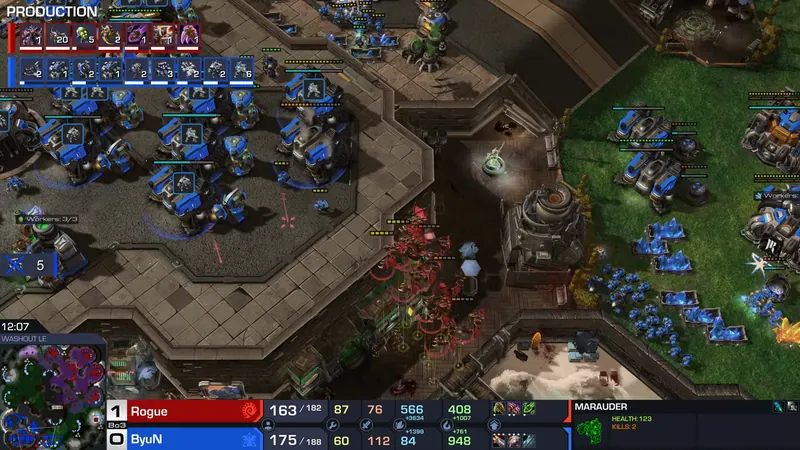
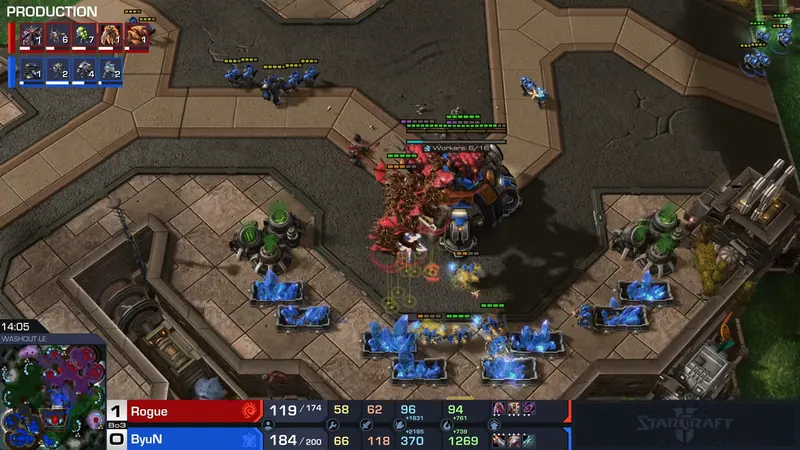
Lings kill 16 SCVs at ByuN's third
Rogue's Zerglings flood the third base and kill 16 SCVs.
Why it matteredTerran economy takes a big hit, keeping Rogue in the game.
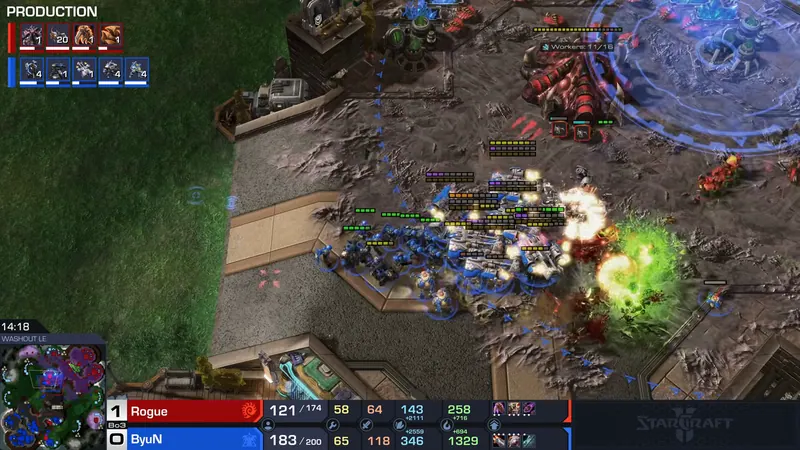
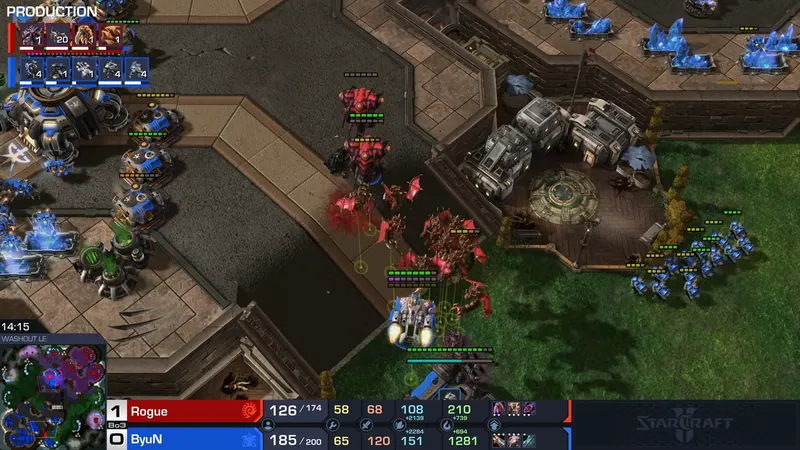
- 04Fight
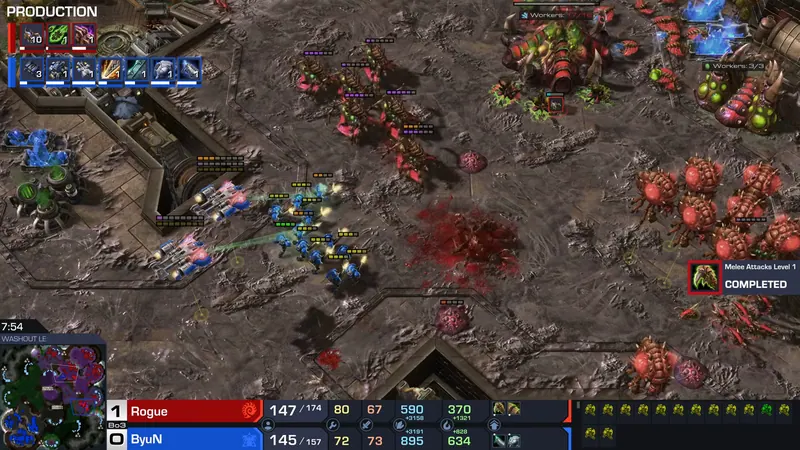
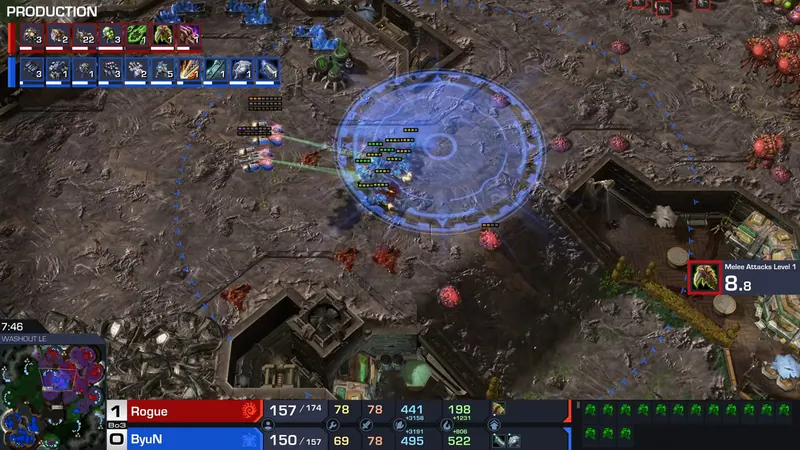
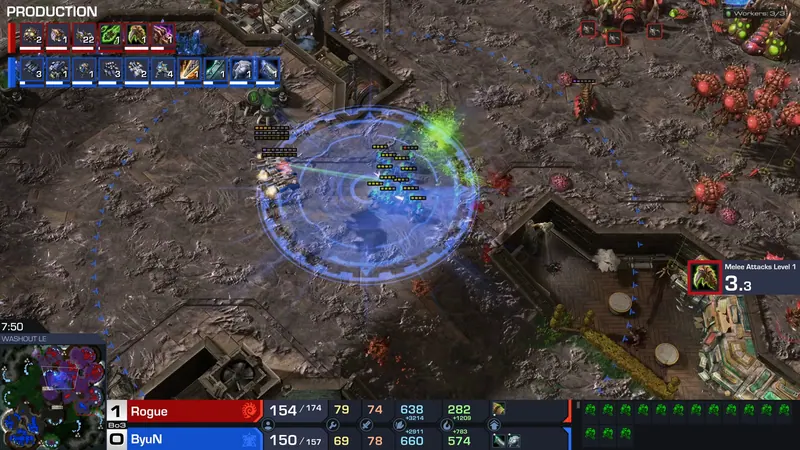
Marines surround the Mutas
Marines collapse on Rogue's Mutas; several die, but ByuN loses marines too.
Why it matteredRogue loses map control, letting ByuN push back out.
- 05Finish
ByuN's army cleans up
ByuN pushes through Rogue's last Mutas and Banelings.
Why it matteredRogue has no economy left; ByuN forces the GG.
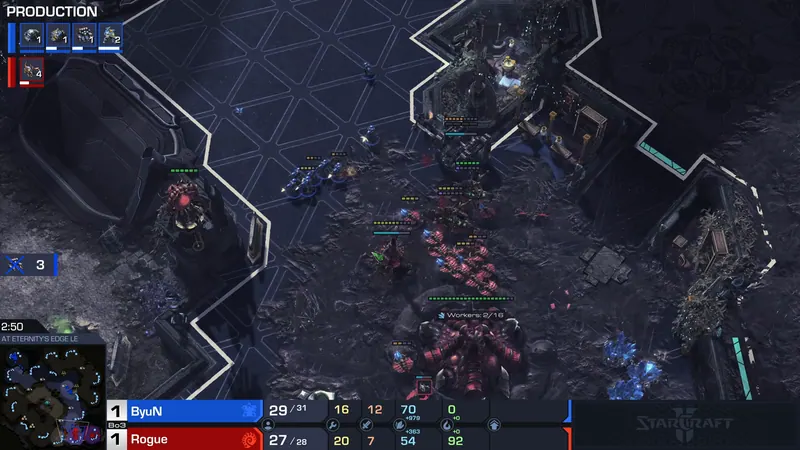
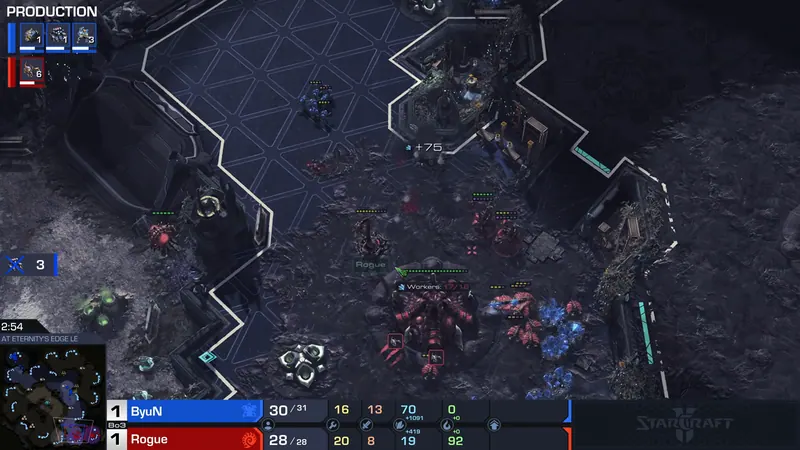
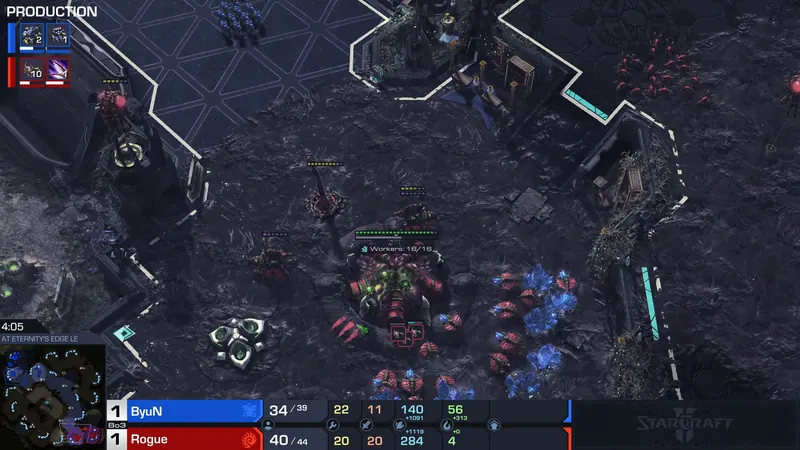
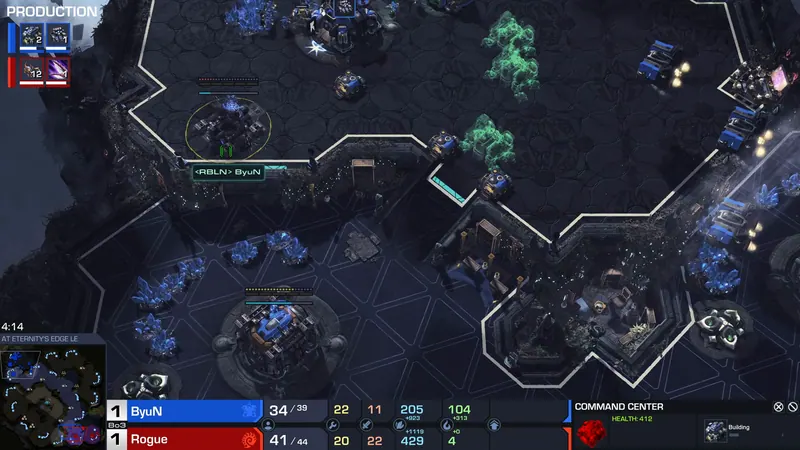
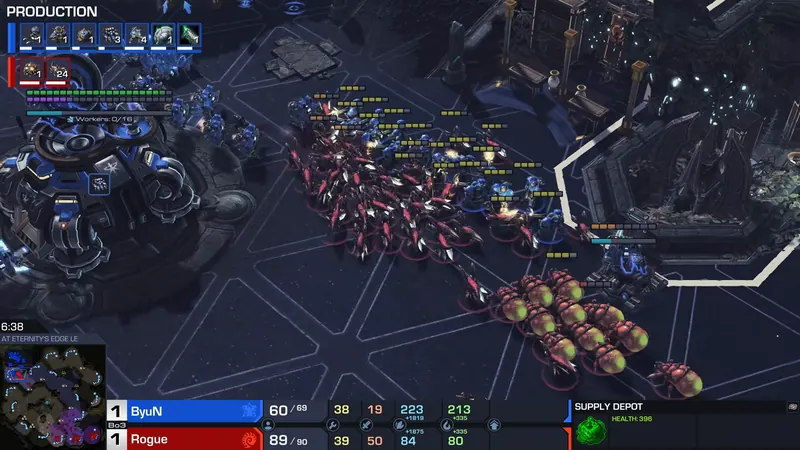
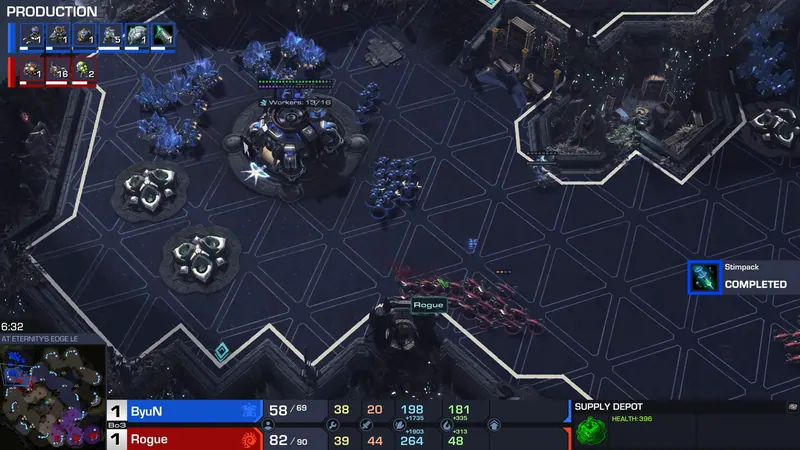
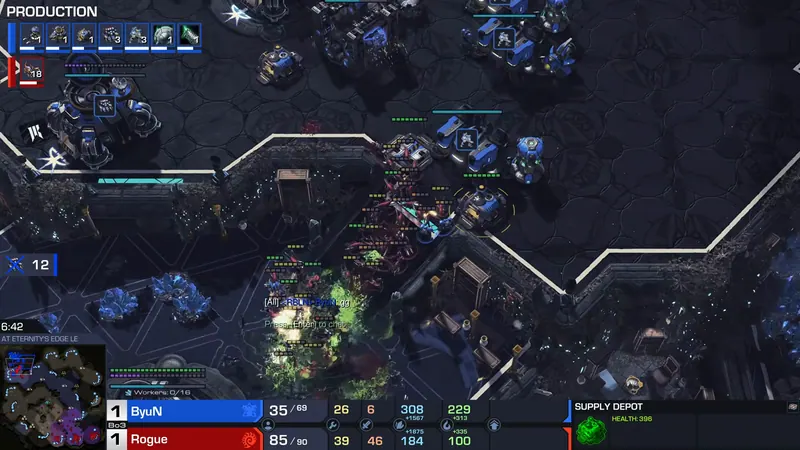
Game 3 · Eternity's Edge
Watch game 3 from 29:54 ▶Rogue's defense and banelings punish ByuN's greed
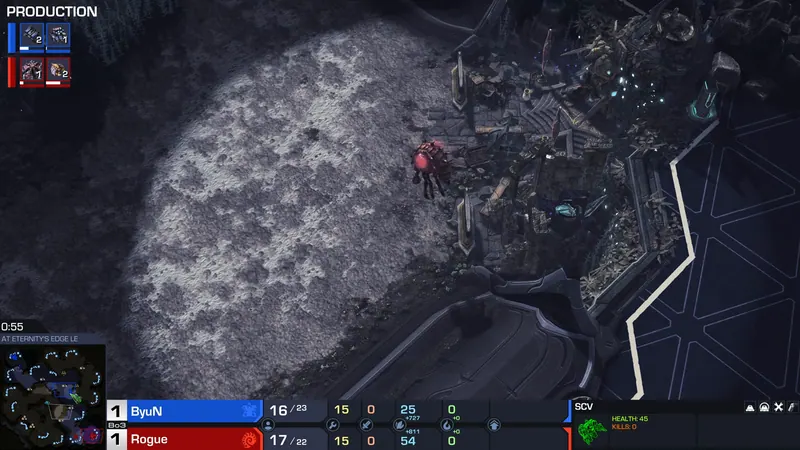
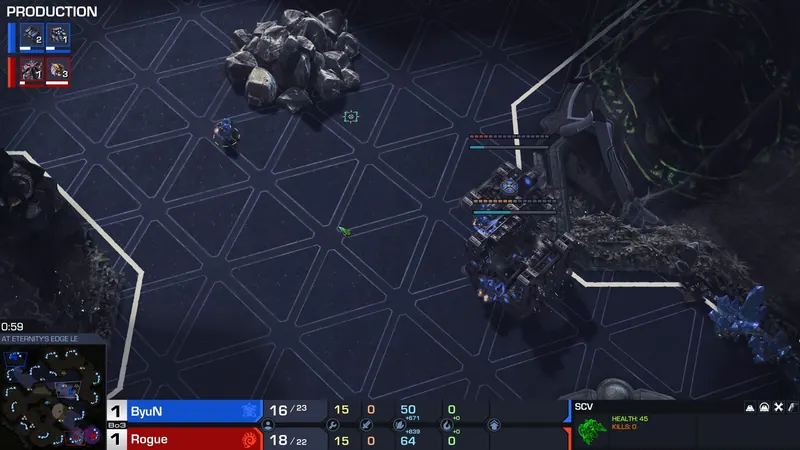
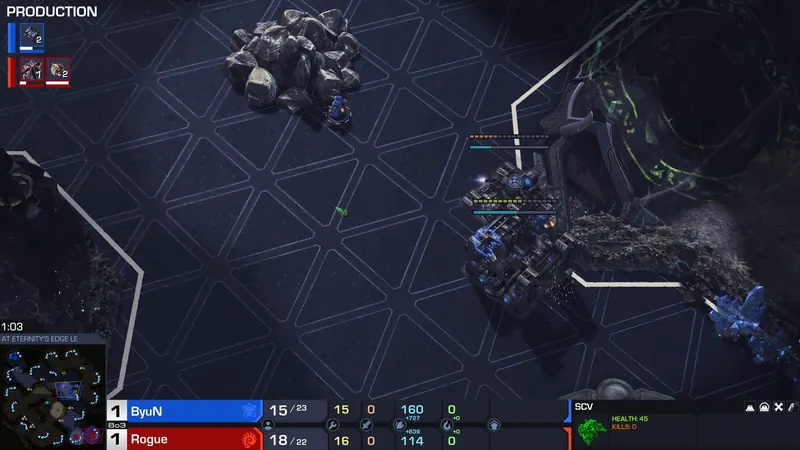
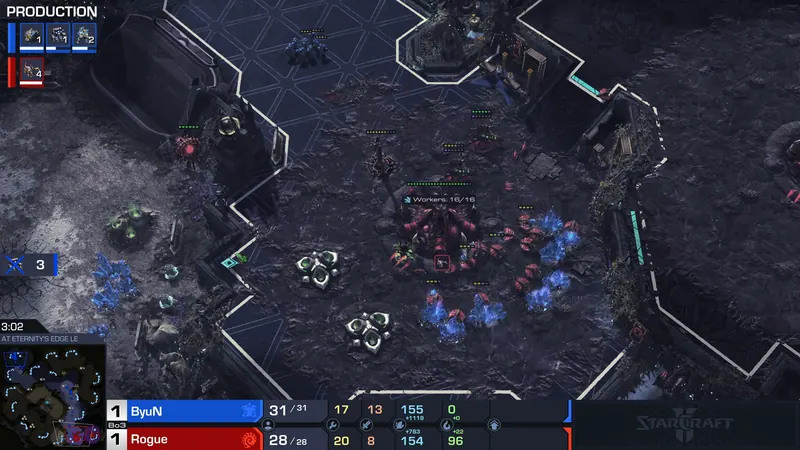
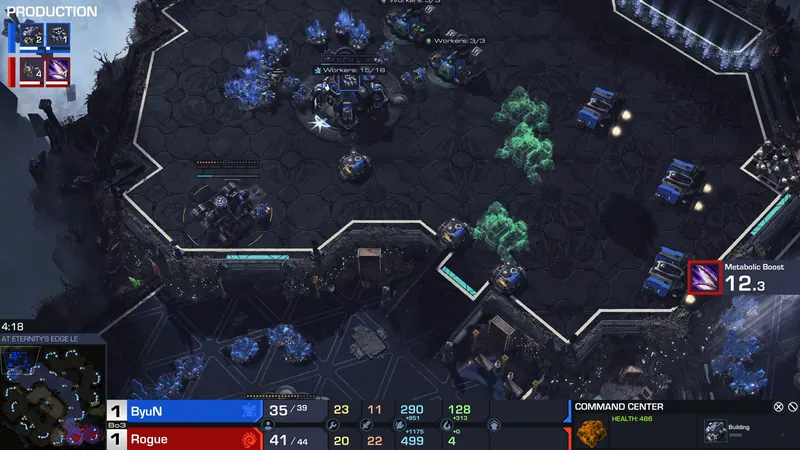
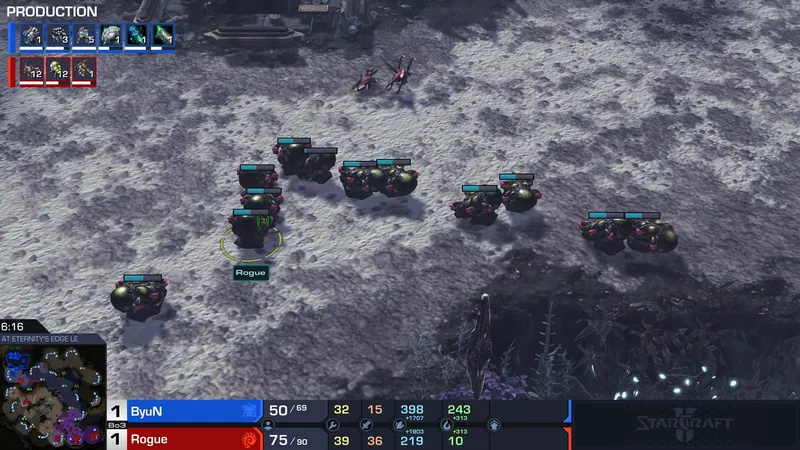
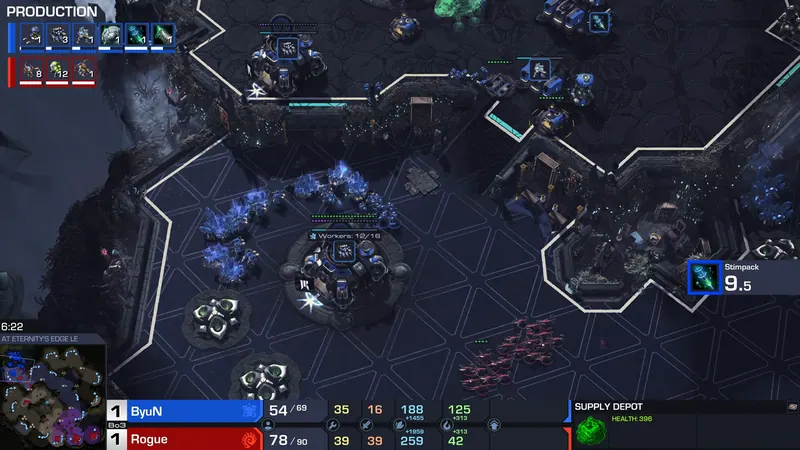
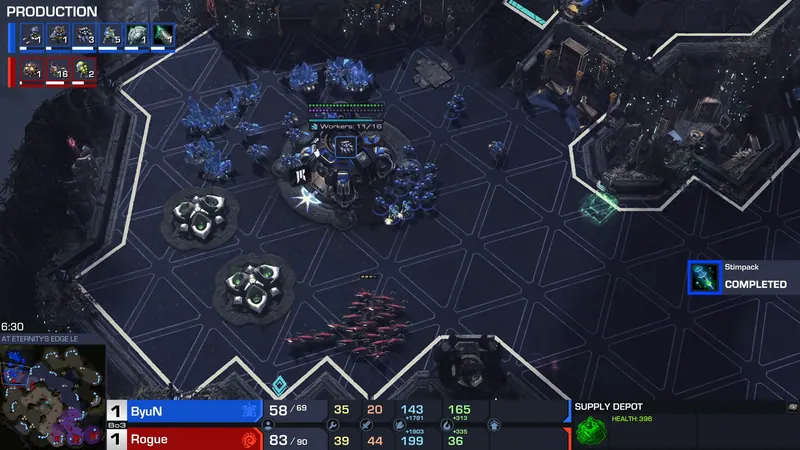
ByuN opens with proxy Barracks but Rogue defends without losing a drone. ByuN responds with triple Command Center greed, but Rogue's banelings break the wall. ByuN moves out at the worst moment, his Marines get surrounded, and Rogue wins the series.
Key moments
- 01Opening
ByuN hides proxy Barracks
Two proxy Barracks go down near Rogue without scouting.
Why it matteredByuN commits to early Marine pressure; Rogue's overlords miss it.
- 02Turning point
Rogue's defense holds, no drones lost
Drones kill SCVs and cancel bunkers; spine crawler roots.
Why it matteredByuN's all-in fails, Rogue is ahead.
- 03Decision
ByuN gambles on triple Command Center
ByuN adds three Command Centers after losing his proxy Marines.
Why it matteredIf Rogue doesn't punish, ByuN can recover economy.
- 04Fight
Banelings break ByuN's depot wall
Eleven banelings hit the wall, destroying supply depots.
Why it matteredByuN's wall is open for Rogue's lings, forcing a final fight.
- 05Finish
Rogue surrounds ByuN's Marines to end it
ByuN moves out sightseeing; lings and banelings surround his army.
Why it matteredByuN loses everything and taps out.
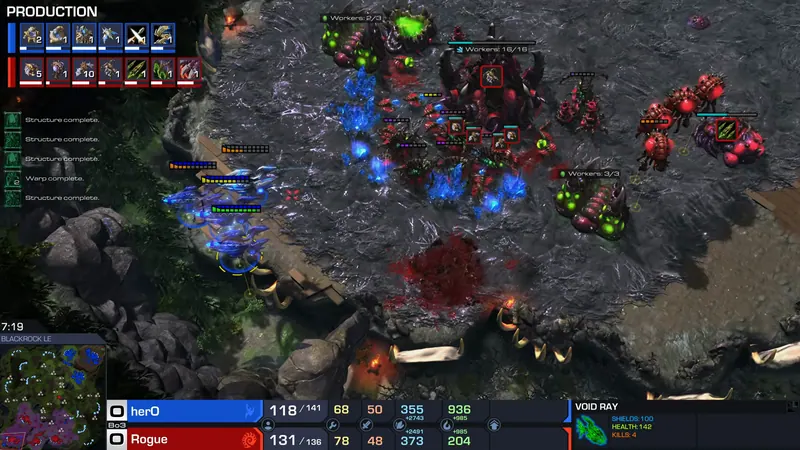
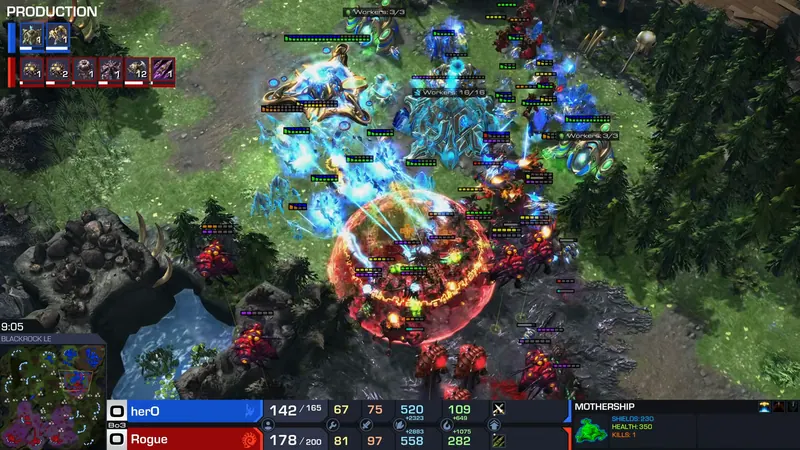
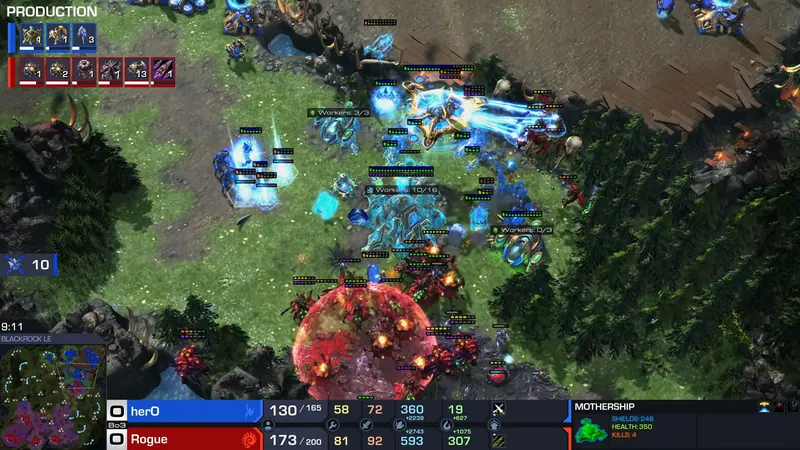
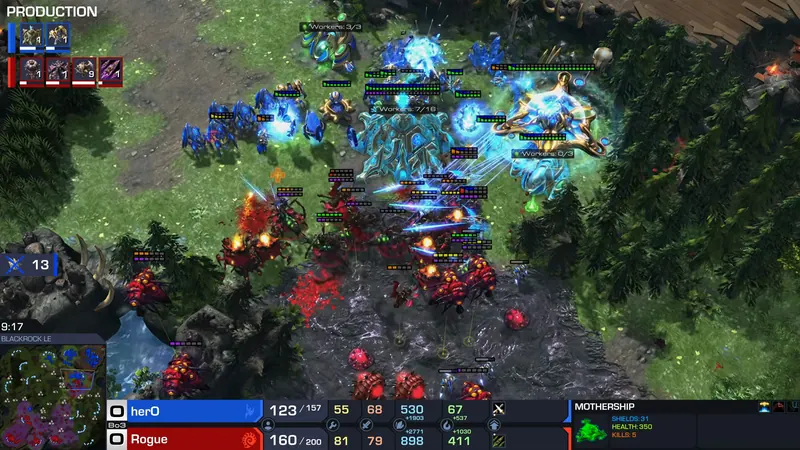
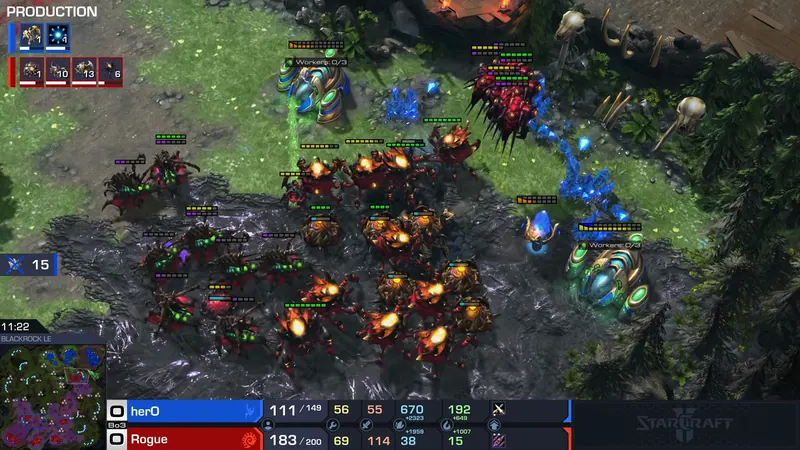
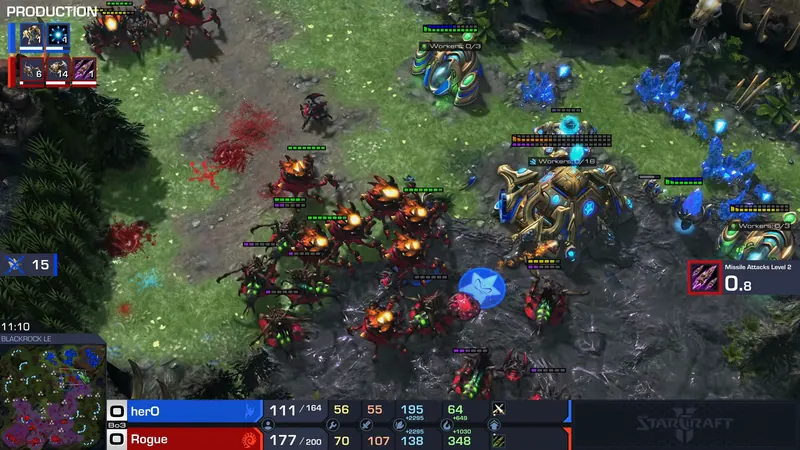
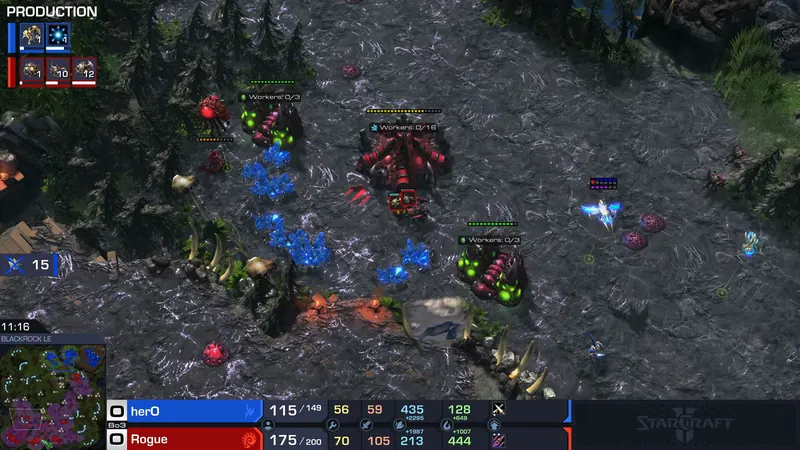
Rogue's second wave breaks herO's third
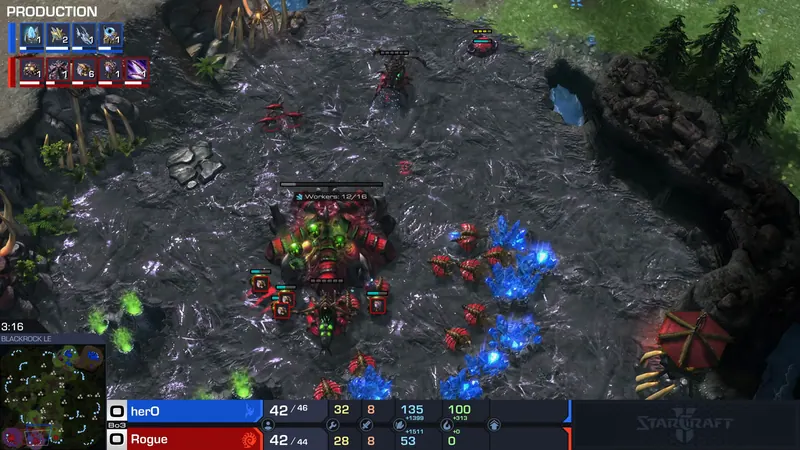
herO opens triple Void Ray into Mothership and denies Rogue's scouting, but Rogue booms to four bases. herO kills Rogue's Spire, forcing Mutas, then defends the first push with Time Warps. Rogue commits a second wave and kills the third Nexus to win a messy game.
Key moments
- 01Opening
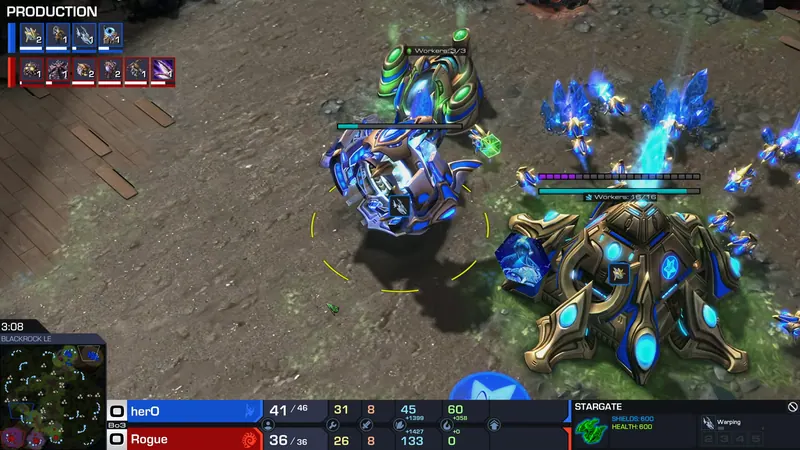
herO opens triple Void Ray
herO builds three Void Rays and a Fleet Beacon.
Why it matteredSkytoss denies overlord scouting and delays Rogue's tech.
- 02Fight
herO kills Rogue's Spire
herO's units kill the Spire before Corruptors.
Why it matteredRogue flips to Mutas instead of planned Corruptors.
- 03Turning point
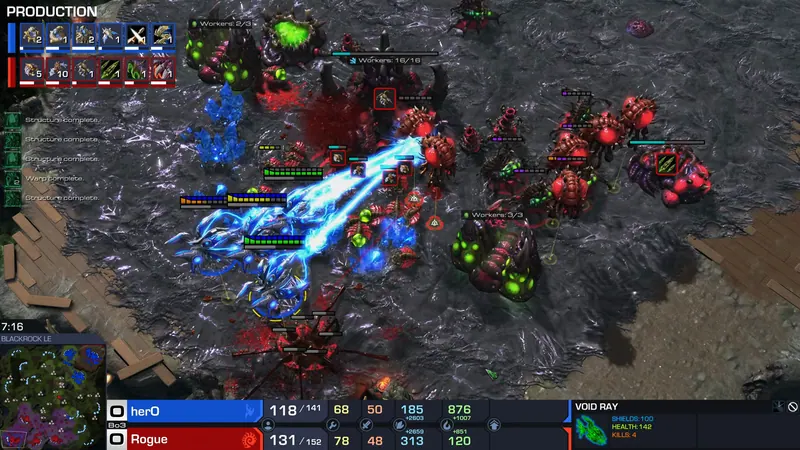
Rogue's first push stalls in Time Warps
Rogue sends roaches and Mutas into herO's army; Time Warps slow them.
Why it matteredThe attack does little damage and herO stabilizes.
- 04Finish
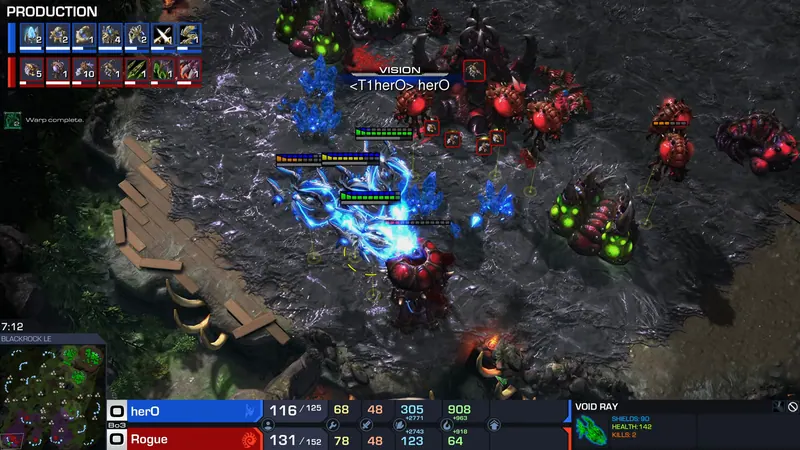
Rogue's second wave kills third Nexus
Roach Ravager army destroys herO's third Nexus.
Why it matteredherO loses a base and concedes the game.
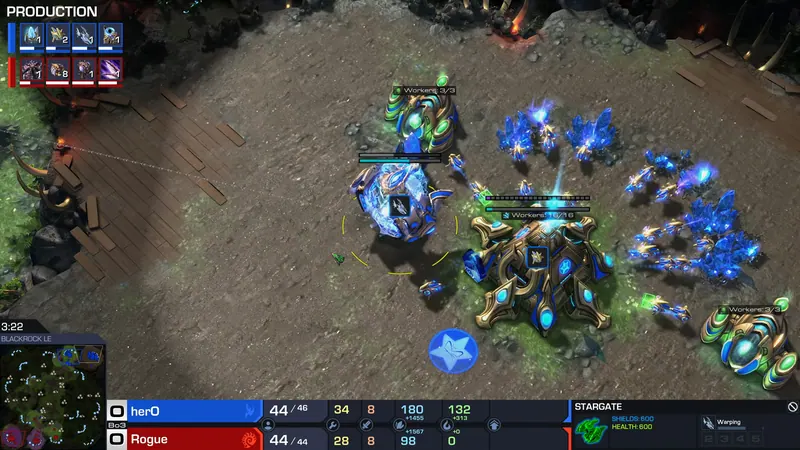
Game 5 · Fear and Faith
Watch game 5 from 47:54 ▶Glaive Adepts punish Rogue's late Roach Warren
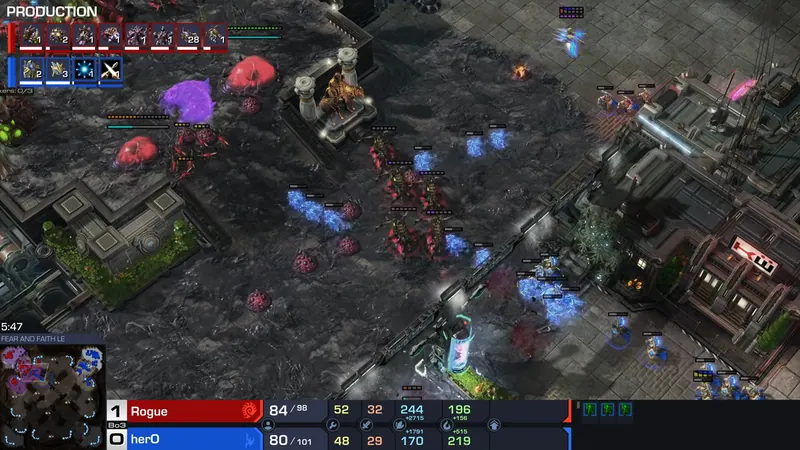
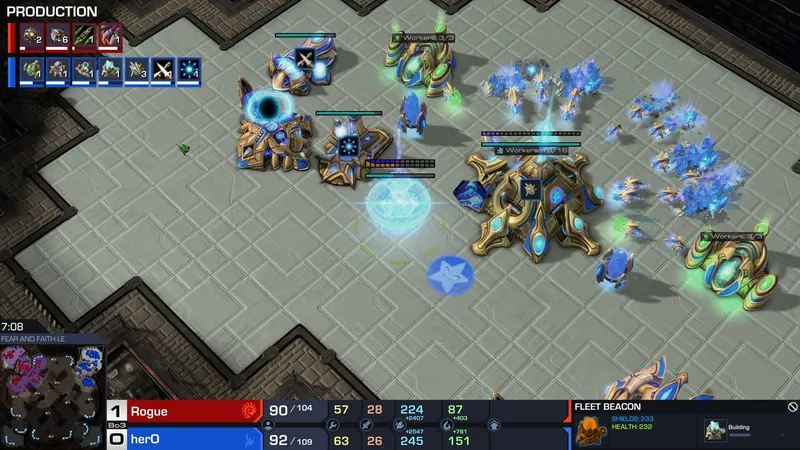
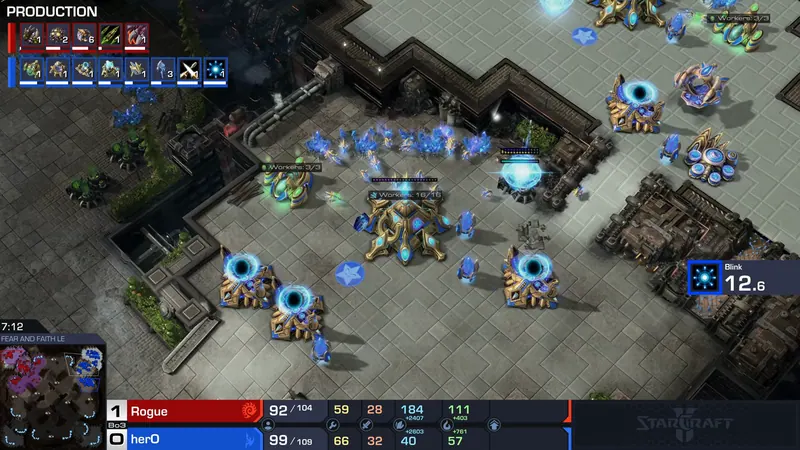
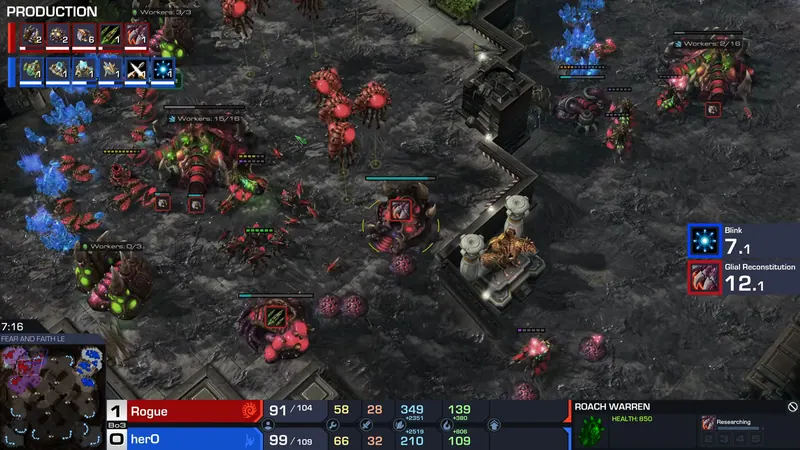
herO opens with a high-ground wall, then hits a Glaive Adept timing before Rogue's Roach Warren finishes. Rogue loses workers and lings, falling behind. His desperate attack into herO's Stalkers fails, and herO takes game two.
Key moments
- 01Opening
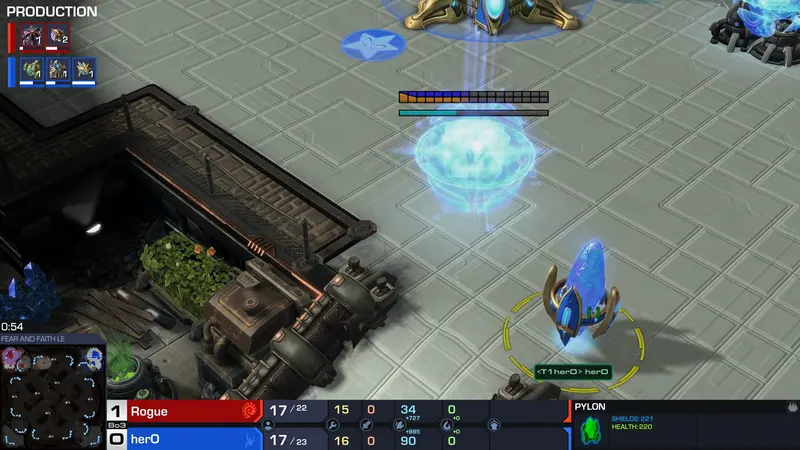
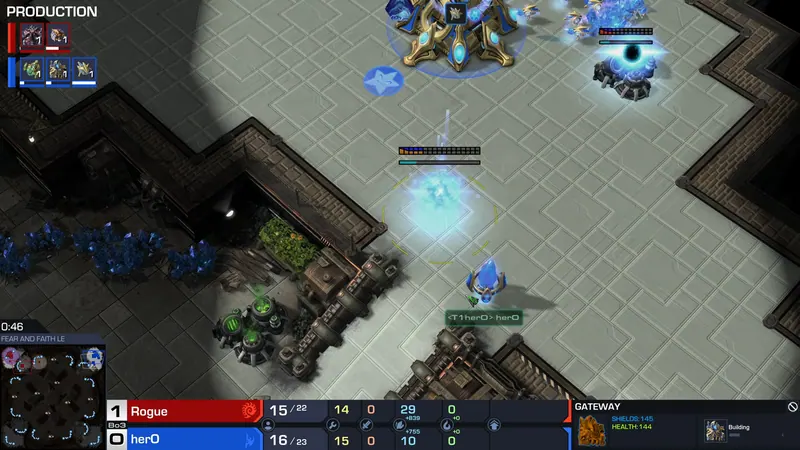
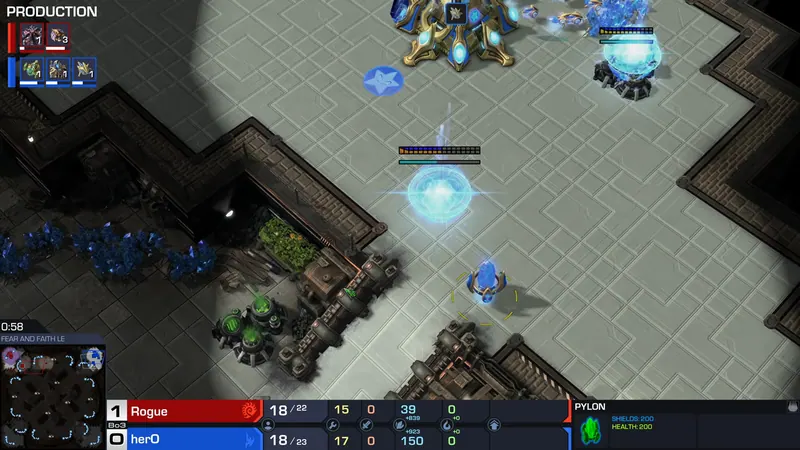
herO walls with high ground Gateway
herO puts a pylon and Gateway on the high ground.
Why it matteredThis walls the ramp and sets up a three Gateway timing.
- 02Turning point
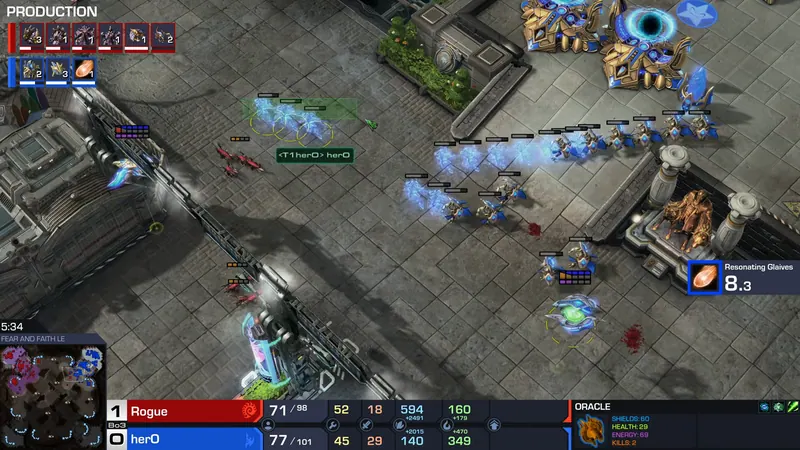
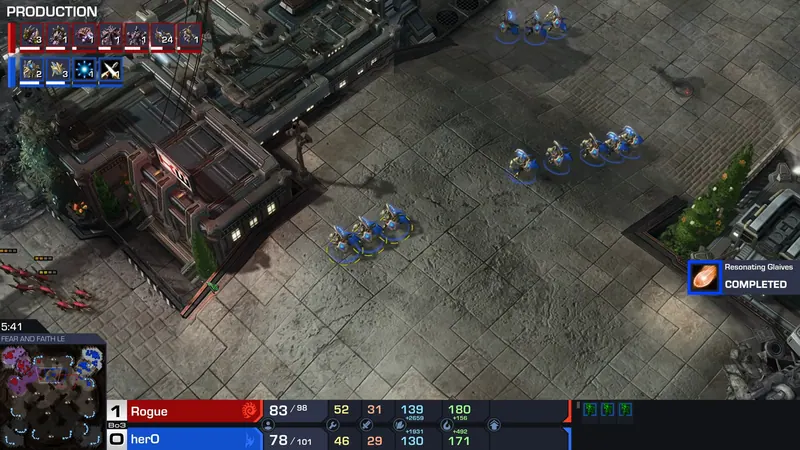
Glaive Adepts hit before Roaches
herO's Glaive Adepts shade into Rogue's base while Roach Warren is still building.
Why it matteredRogue loses lings and workers, falling behind.
- 03Finish
Rogue attacks into Stalkers and dies
Rogue pushes with Ravagers but herO's Stalker force is too strong.
Why it matteredRogue's army melts; he concedes the game.
Game 6 · Lockdown
Watch game 6 from 55:37 ▶herO's Skytoss outlasts Rogue's Lurkers
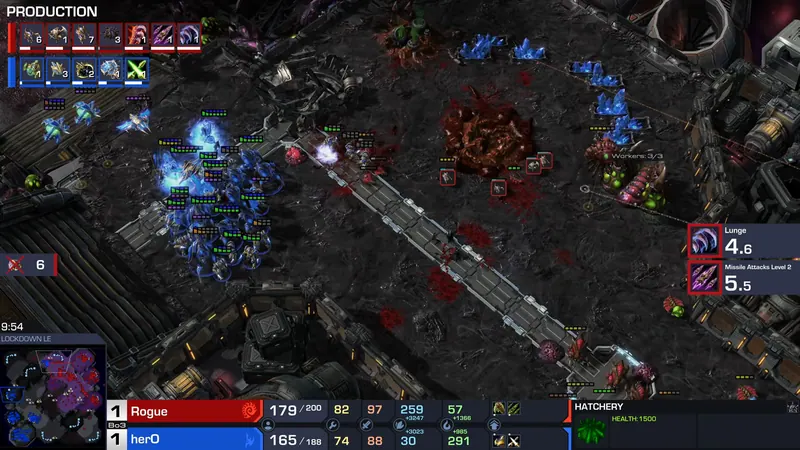
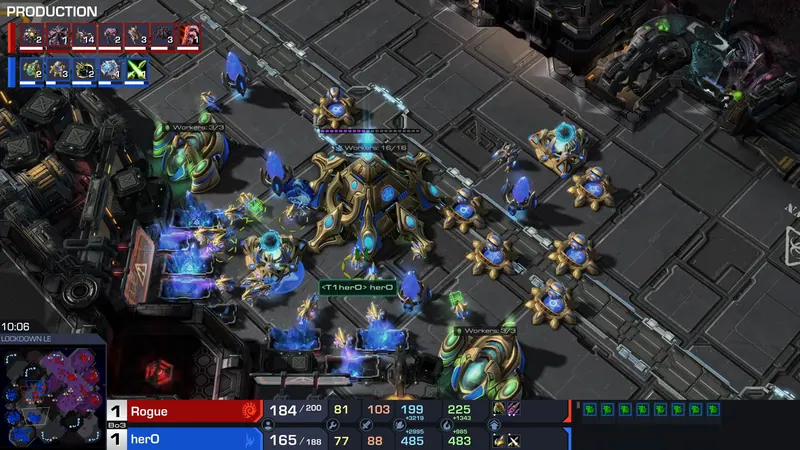
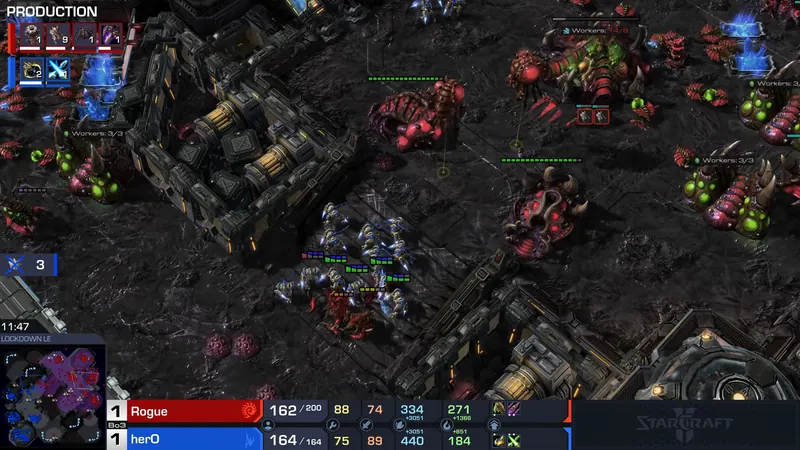
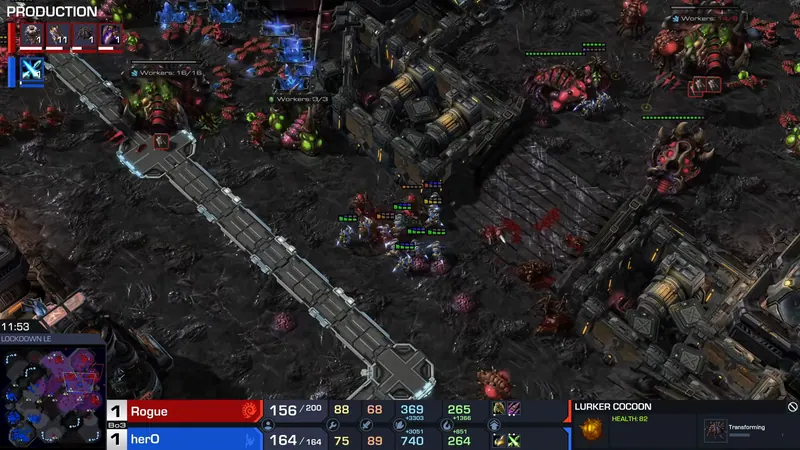
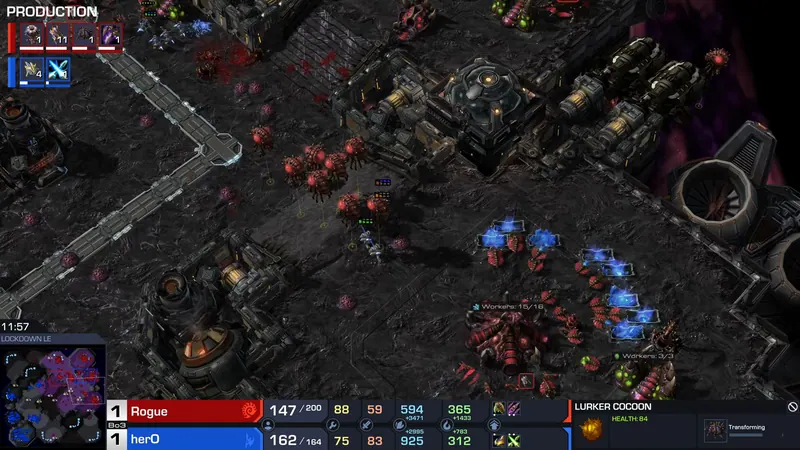
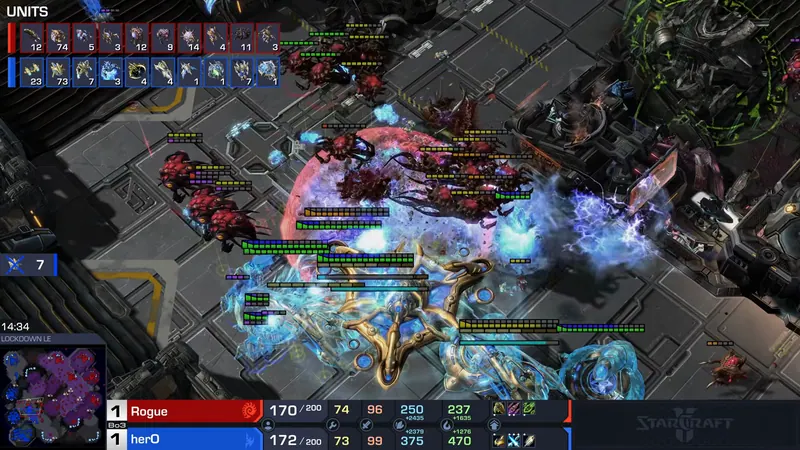
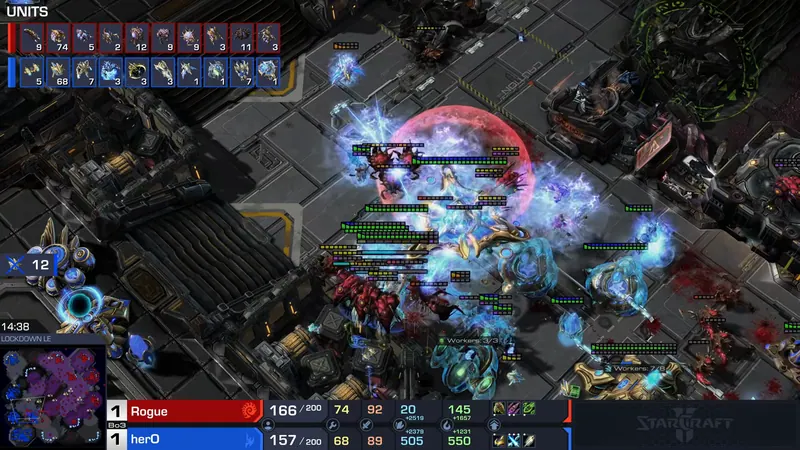
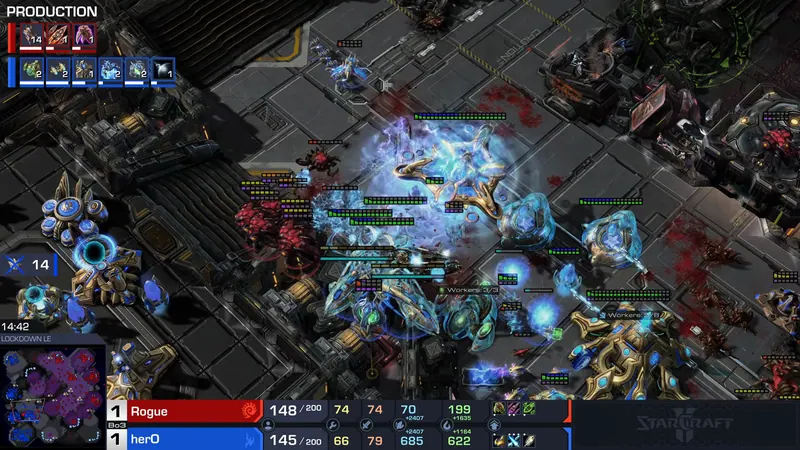
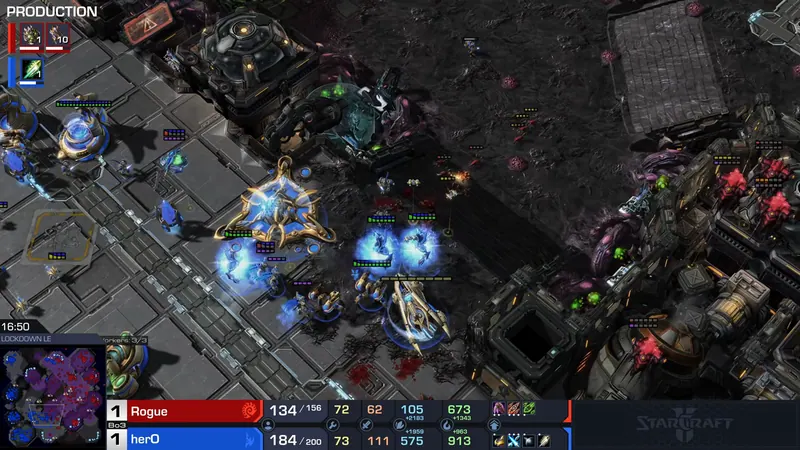
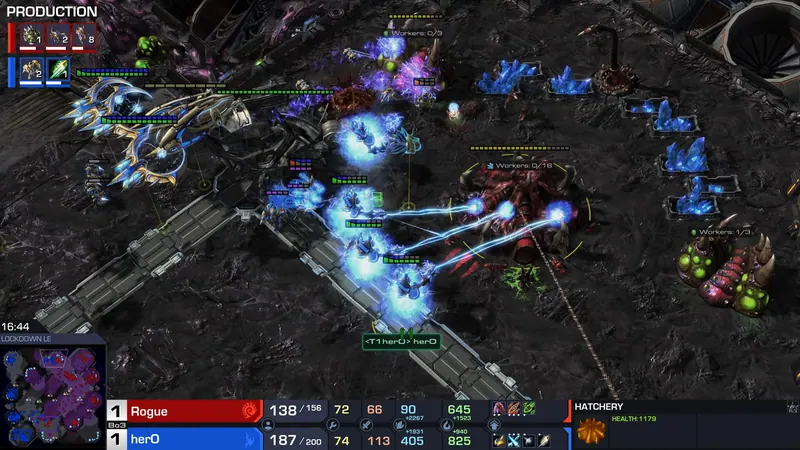
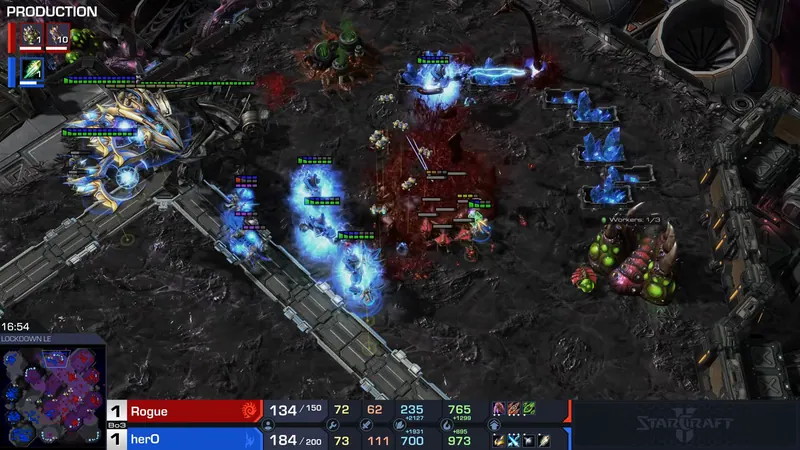
herO opens standard Stargate and builds a Skytoss army with Tempests and Mothership. Rogue answers with Lurkers and Corruptors, landing runbys and killing probes, but loses his Corruptors in a big fight. herO's final push kills the last hatchery and wins the series.
Key moments
- 01Opening
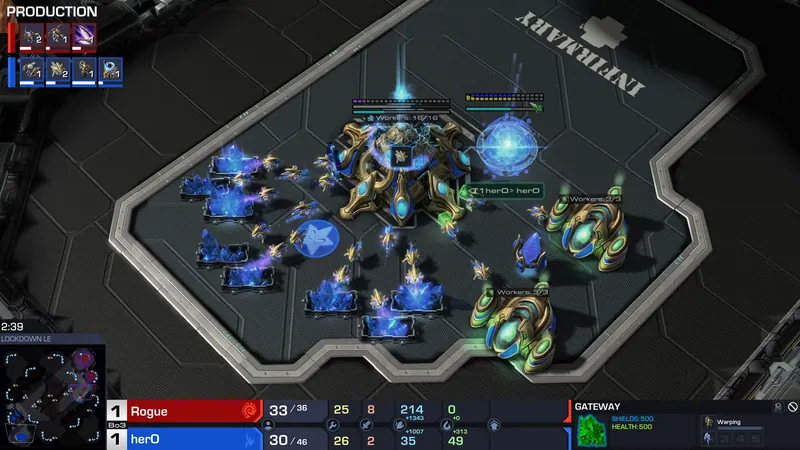
herO opens standard Stargate
Low ground pylon, Stargate, and Oracle for herO.
Why it matteredSets up greedy third with Oracle coverage.
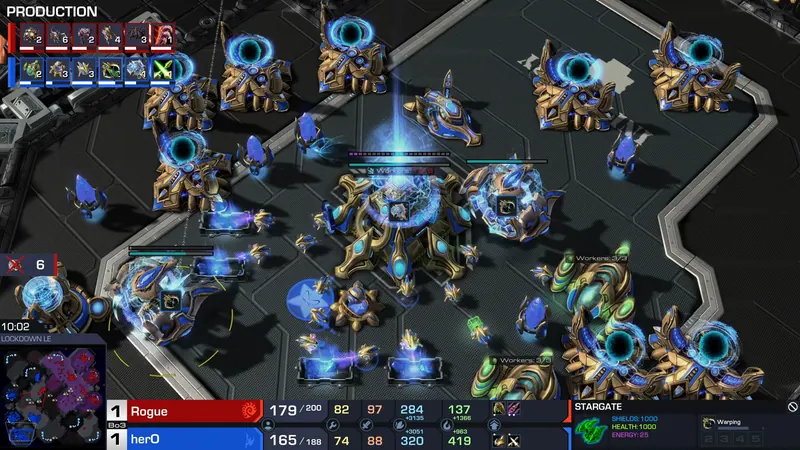
- 02Tech switch
herO transitions to Tempest Mothership
herO adds Tempests and a Mothership after Fleet Beacon.
Why it matteredRogue's lurkers can't reach; herO gains range.
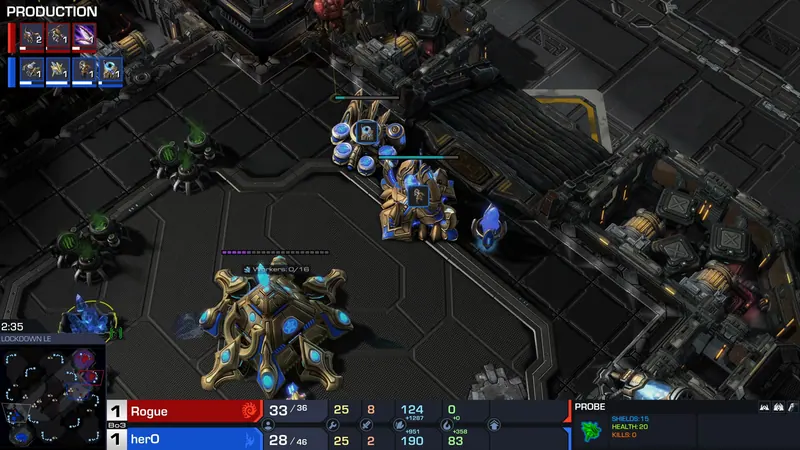
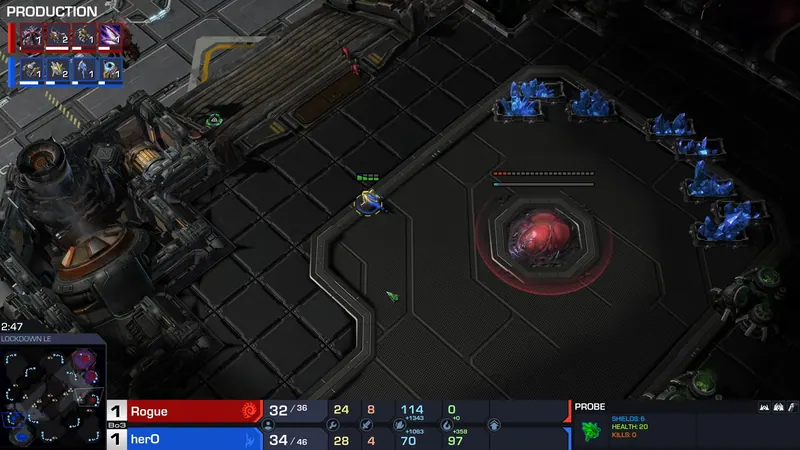
- 03Harass
Zealots kill a dozen hydras
herO's Zealot runbys kill over a dozen Hydras in Rogue's bases.
Why it matteredForces Rogue's army home and buys time for Skytoss.
- 04Fight
Rogue loses Corruptors but kills 18 probes
Rogue's Corruptors and Lurkers fight herO's Skytoss; 18 probes die but Corruptors fall.
Why it matteredRogue's attack hurts economy but herO's army survives.
- 05Finish
herO counterattack ends it
herO's Skytoss pushes to Rogue's hatchery at 12:00 and kills it.
Why it matteredRogue can't defend; GG called.
Footage and commentary: LowkoTV on YouTube. Each still links to that second of the video. Written from the commentary, so it can miss what the caster didn't mention.
Want this for your own games?
Upload a replay. The AI Coach picks out the moments that decided it and what to do differently.
Drop a replay file here
.SC2Replay or .rep, or click to choose a file
Replay upload is available on desktop browsers where local replay files are normally stored.
Open upload page