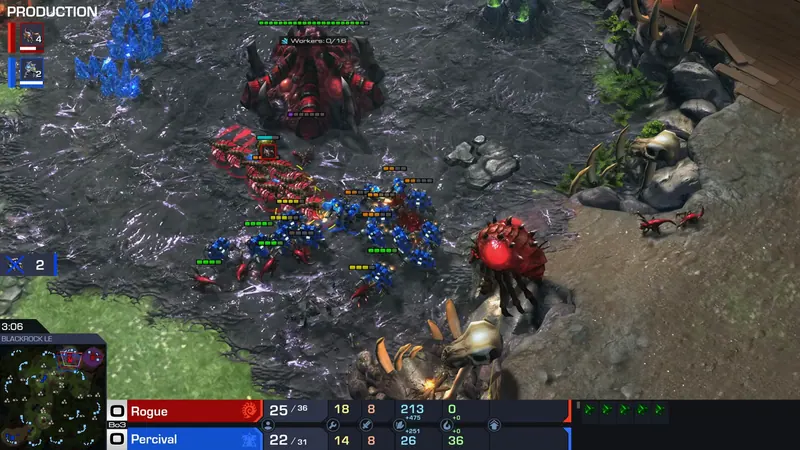
Kung Fu Cup weekly
ShoWTimE vs ByuN; Clem vs Solar
ByuN 2-0 ShoWTimE; Solar 2-1 ClemCast by LowkoTVPublished Nov 9, 20265 gamesWatch on YouTube ↗
Game 1
Watch game 1 from 0:00 ▶Mass command centers outlast ShoWTimE's skytoss
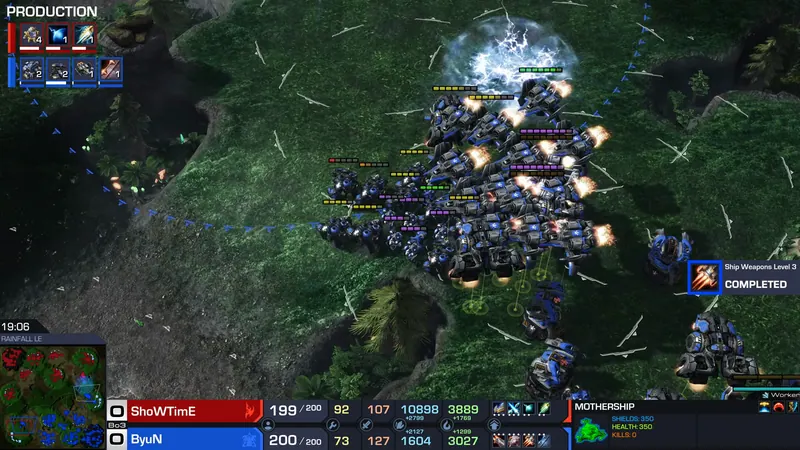
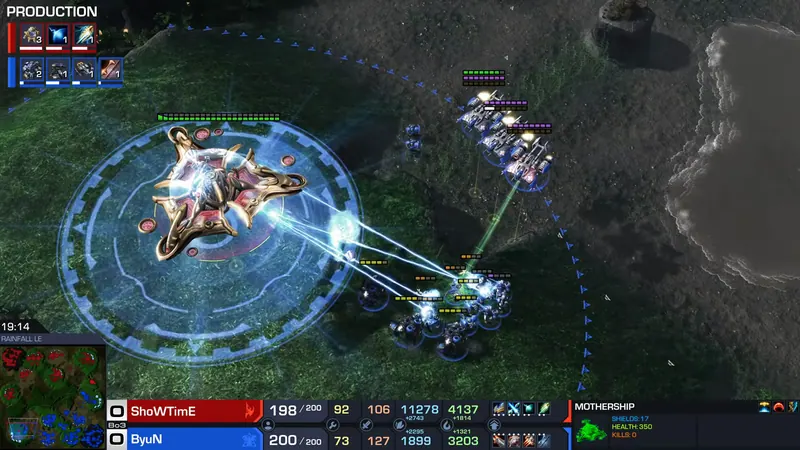
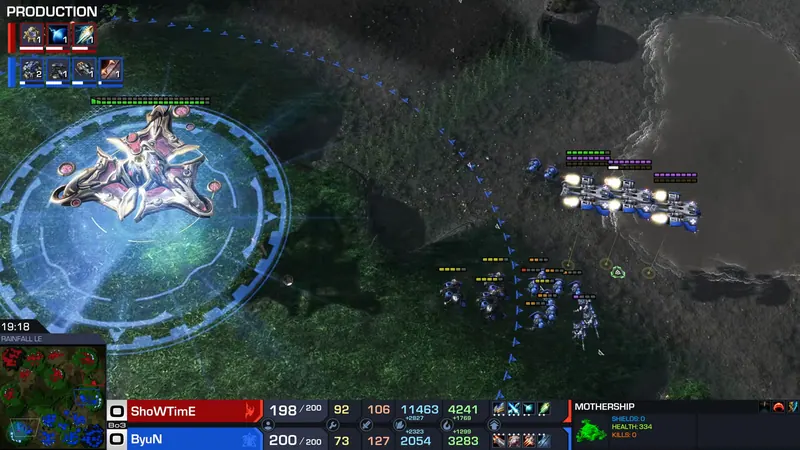
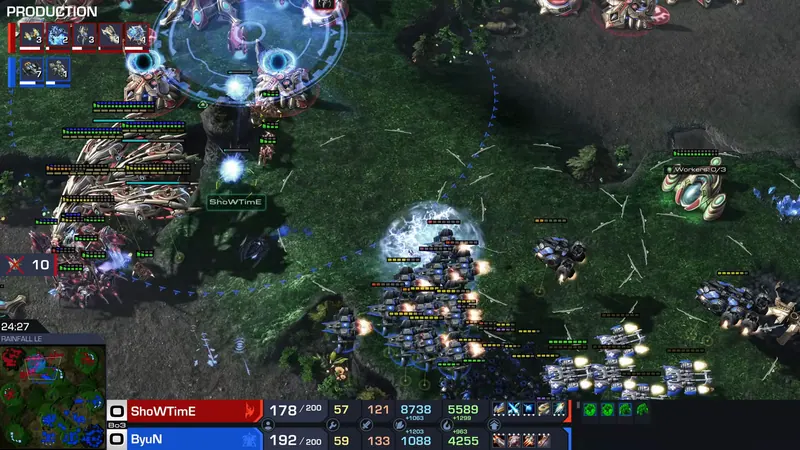
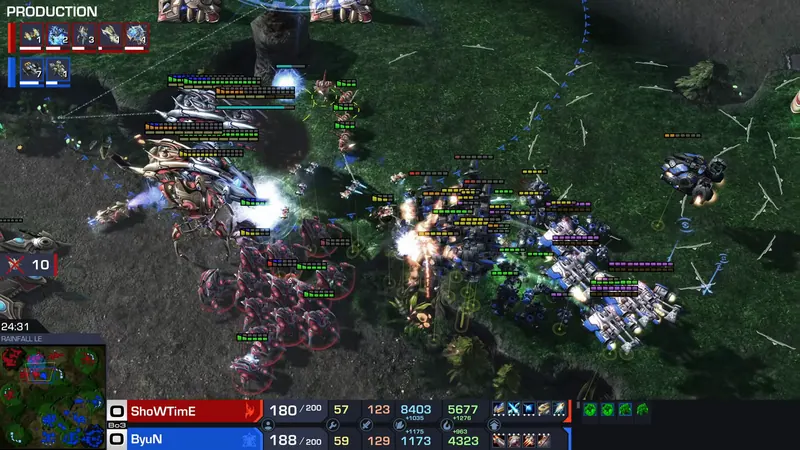
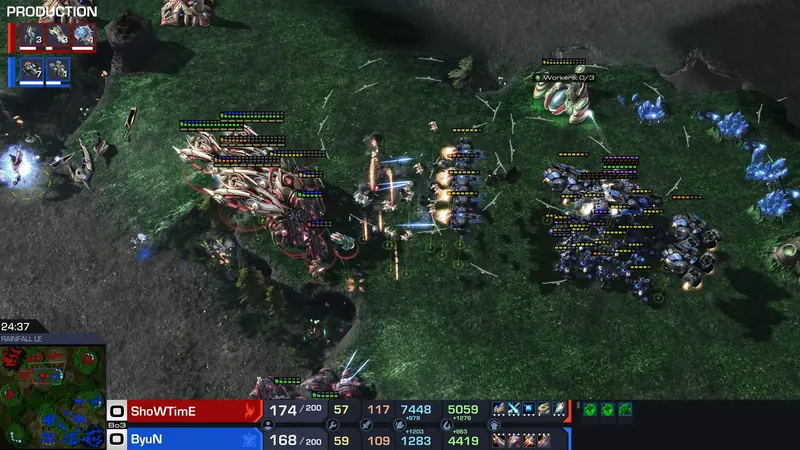
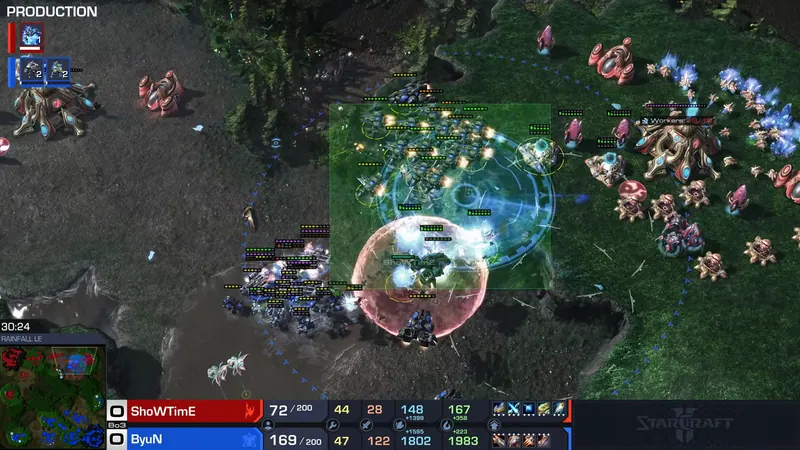
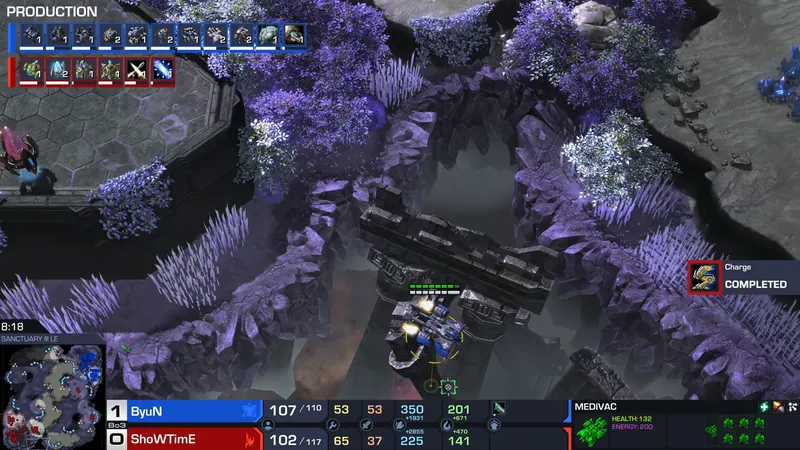
ShoWTimE takes five bases and builds carriers, colossi, and Mothership. ByuN buys time with Liberators, Vikings, Ghosts and a wall of orbitals and Planetaries. ShoWTimE's bank dwindles after repeated recalls; ByuN's economy finally kicks in, his Vikings kill air units, and he grinds down the Protoss army.
Key moments
- 01Opening
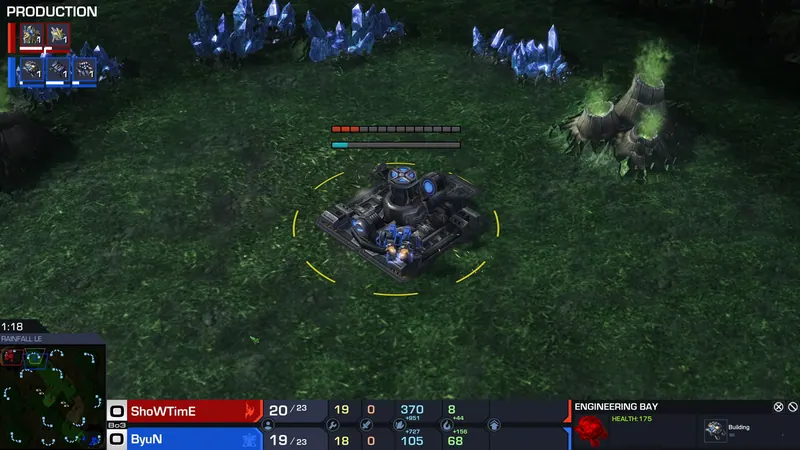
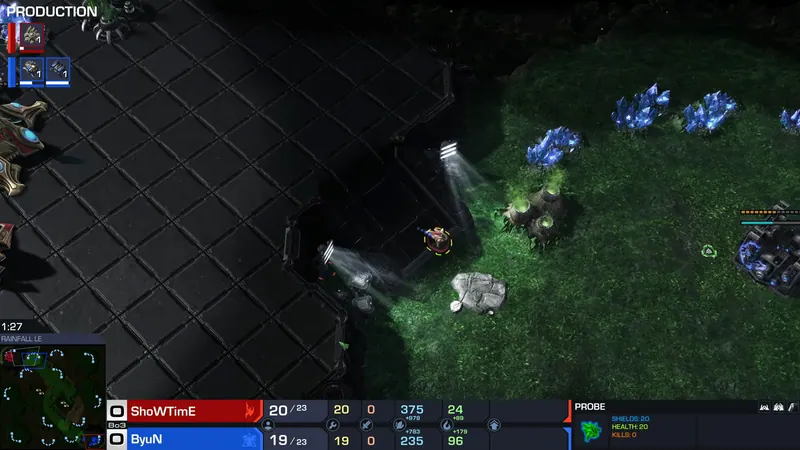
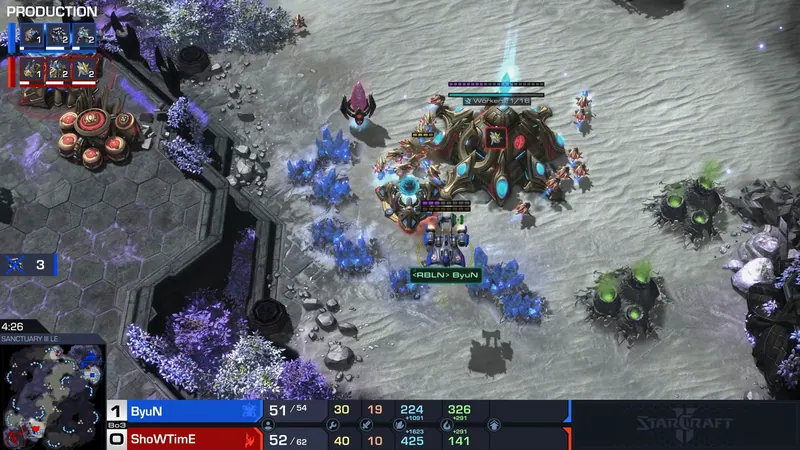
Engineering bay block delays ShoWTimE's natural
ByuN's SCV builds an engineering bay at ShoWTimE's natural, and ShoWTimE takes his third base first.
Why it matteredIt throws off the Protoss opening and buys ByuN a later natural, but costs Terran the same.
- 02Harass
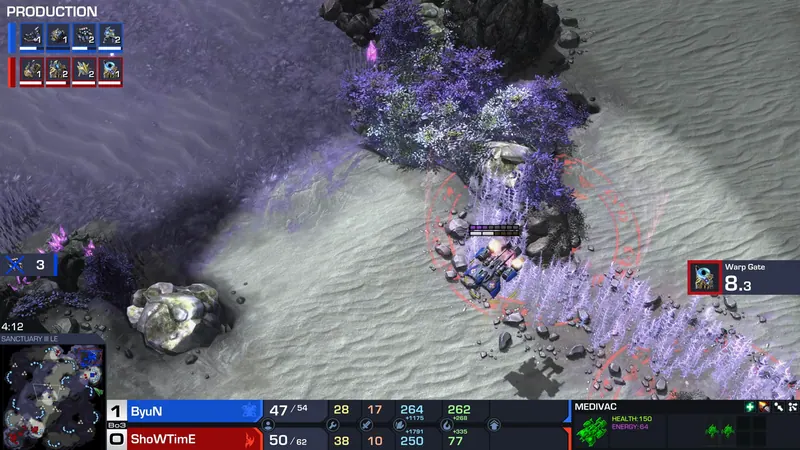
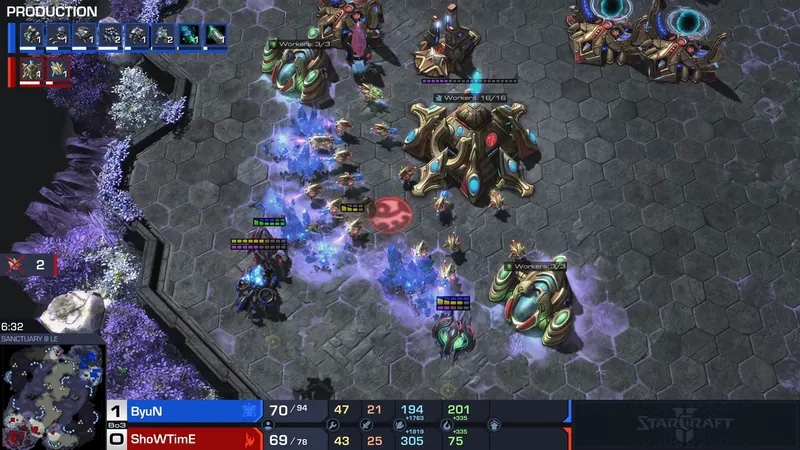
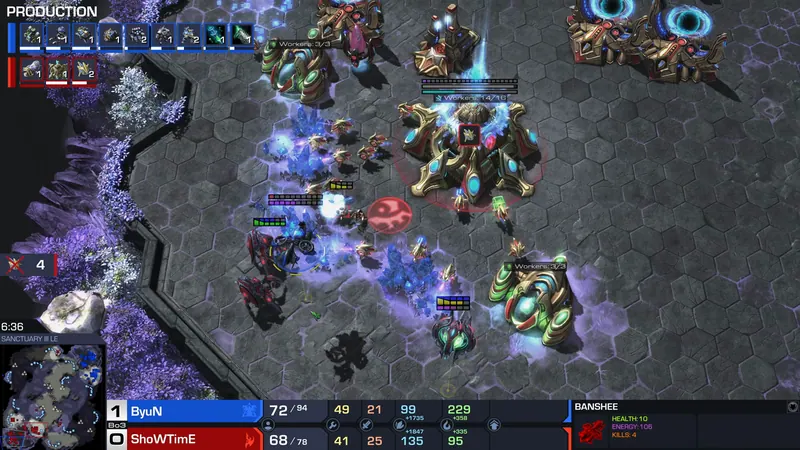
Stalkers deny ByuN's side-angle Medivac drop
A Medivac with Widow Mines flies into ShoWTimE's natural from the side and dies to Stalkers.
Why it matteredShoWTimE loses only a Stalker, keeps all probes, and stabilizes into a fast third base.
- 03Fight
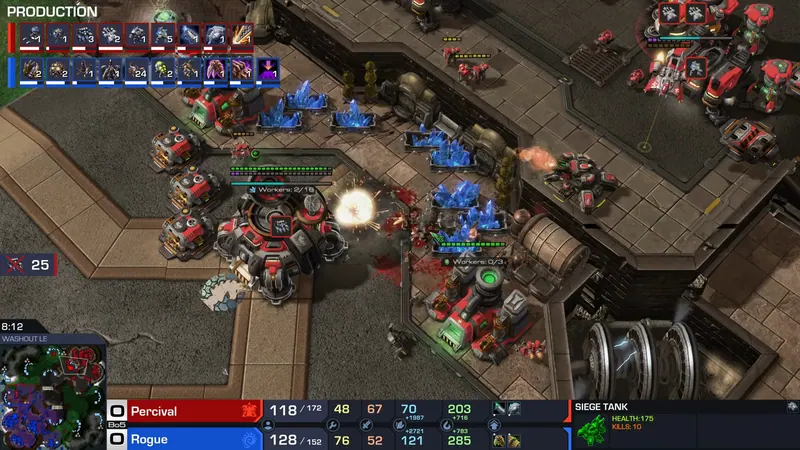
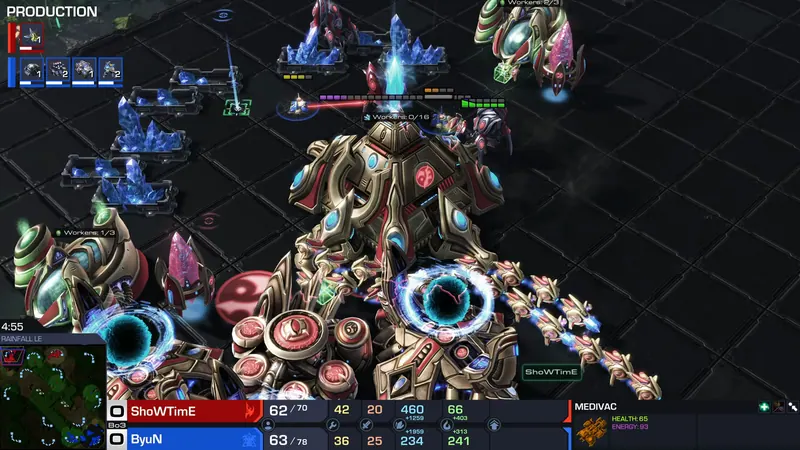
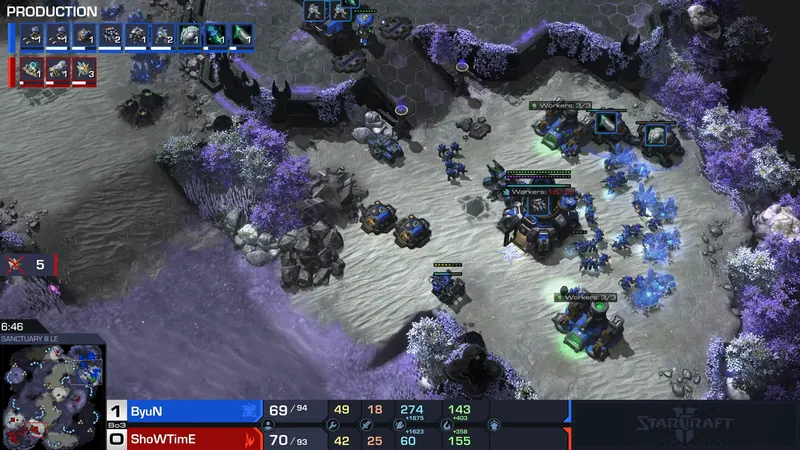
Second Mothership recall crashes into double Planetaries
ShoWTimE recalls his skytoss and ground army onto ByuN's two Planetary Fortresses at the bottom.
Why it matteredByuN trades cost-efficiently, loses few units, and stalls ShoWTimE's bank-fueled pushes.
- 04Turning point
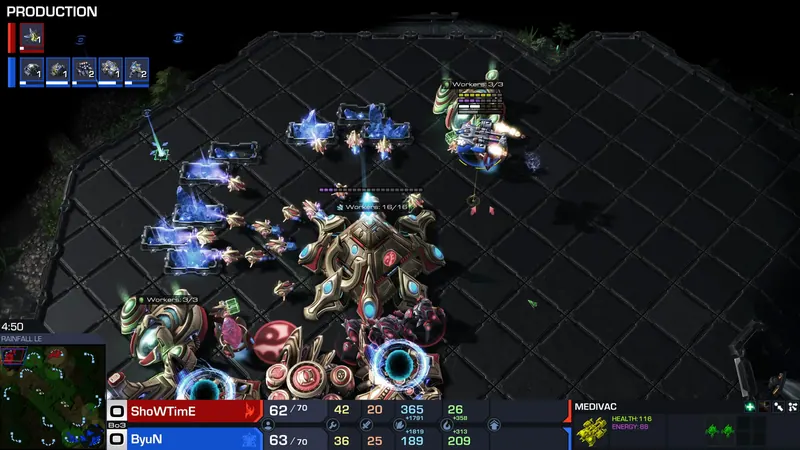
EMP drains all High Templar energy
ByuN lands an EMP on ShoWTimE's High Templar and Stalkers as Vikings free-fire.
Why it matteredWithout storms, ShoWTimE can no longer zone the Vikings, and ByuN starts winning the air fight.
- 05Finish
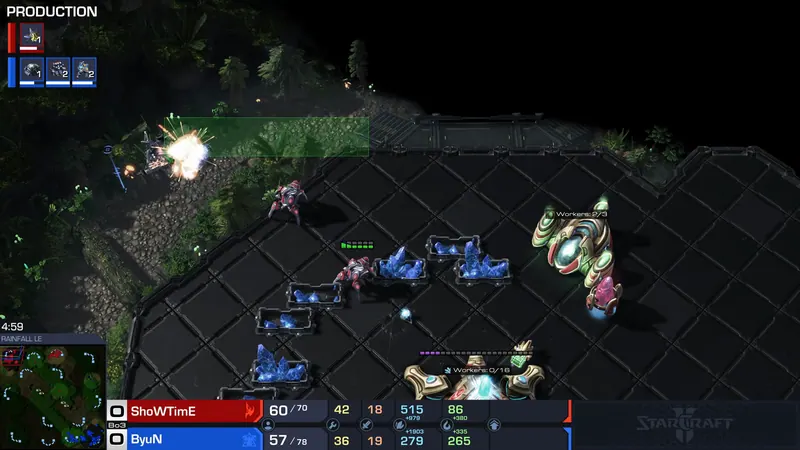
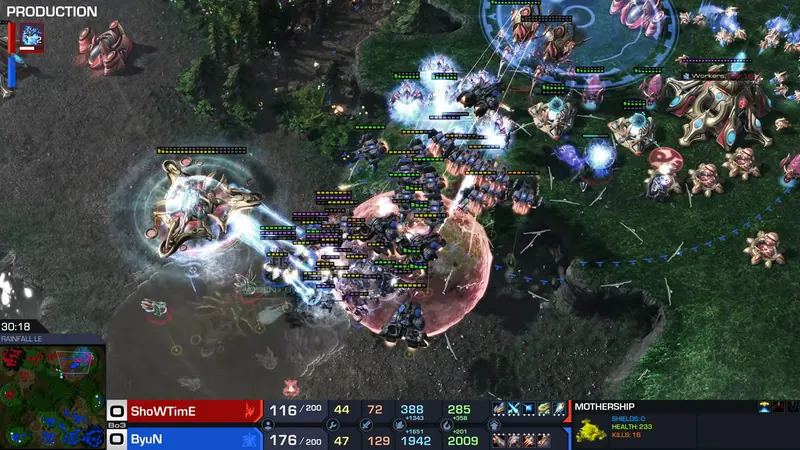
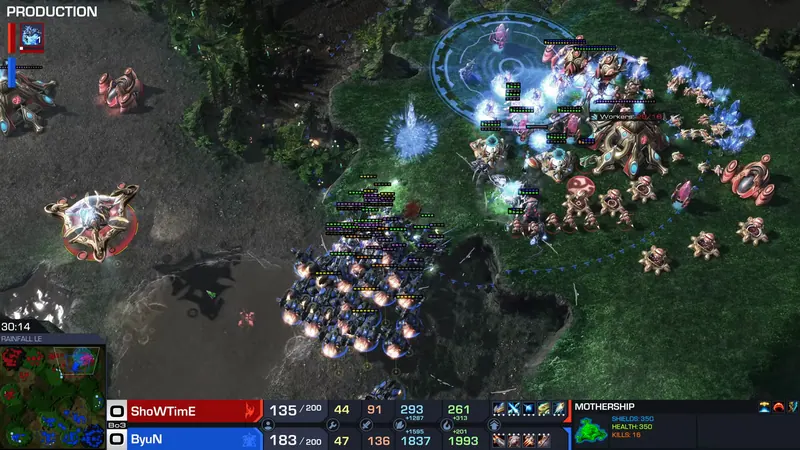
ByuN breaks ShoWTimE's last mining base
ByuN pushes into the bottom-left base, kills workers and the army, while the Mothership flanks but dies.
Why it matteredShoWTimE's bank is gone; ByuN's economy has kicked in, and the Protoss army cannot remax.
ByuN finds proxy nexus and punishes worker losses
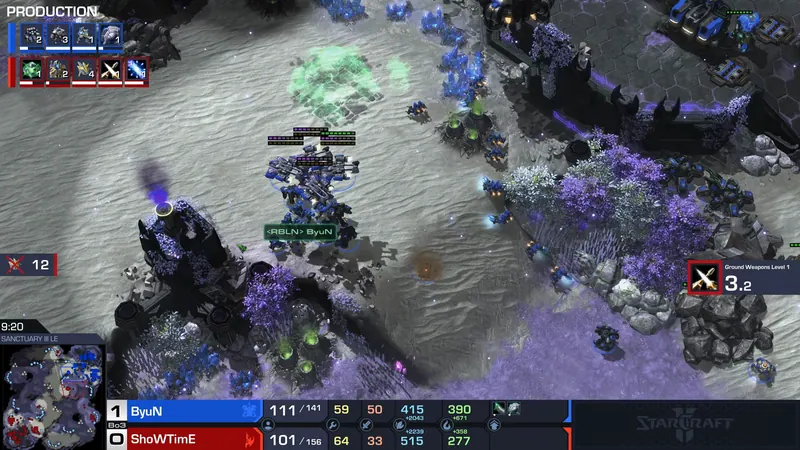
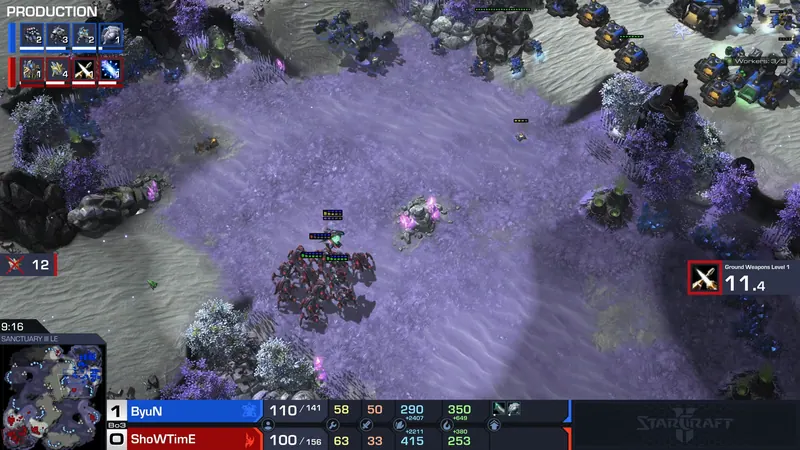
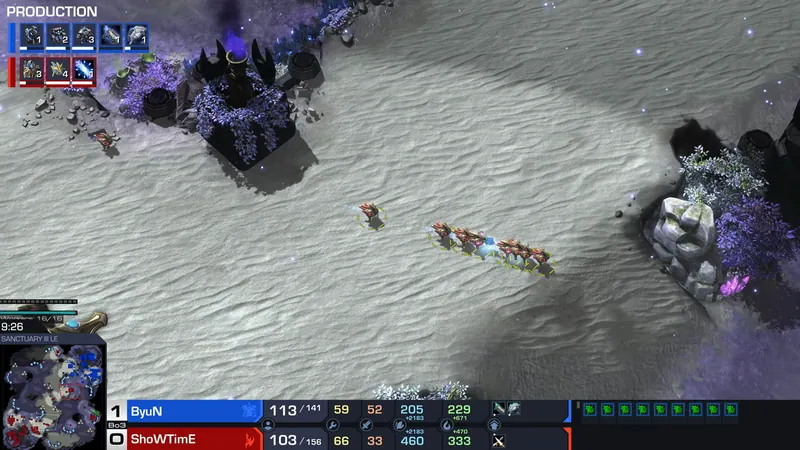
ShoWTimE hides a proxy Stargate and a proxy Nexus, but ByuN's Medivac drop stumbles onto the base. ShoWTimE loses 29 workers to marine drops and a bad transfer, while ByuN takes a Planetary and builds command centers. A late Colossus push is wiped, and ByuN wins.
Key moments
- 01Opening
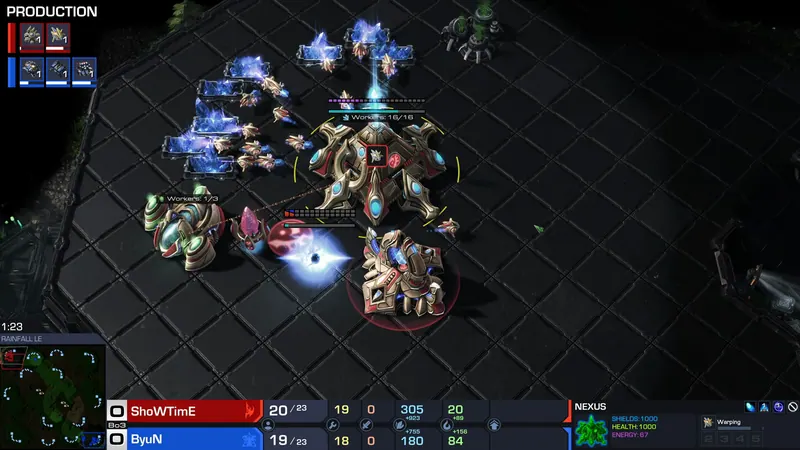
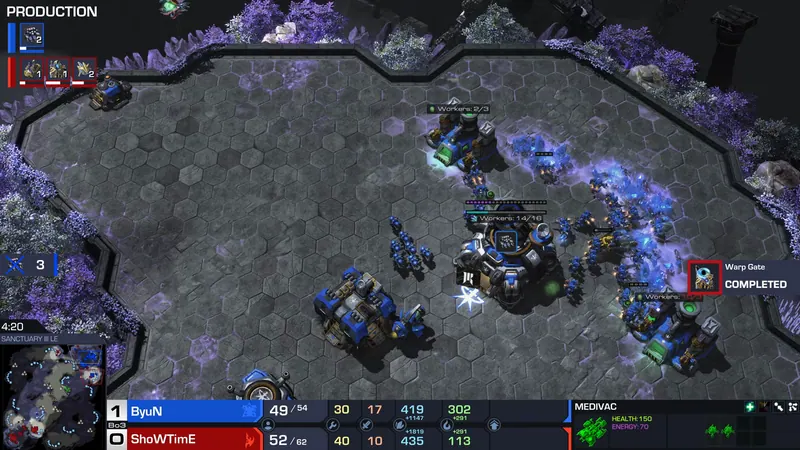
ShoWTimE hides a proxy Stargate
ShoWTimE builds a proxy Stargate in the north while ByuN's engineering bay blocks his natural.
Why it matteredByuN has no scout, so Oracles can catch him off guard.
- 02Harass
Oracles kill six SCVs, lose one
ShoWTimE's Oracles hit ByuN's main as marines leave, killing six SCVs before one dies.
Why it matteredByuN compensates with mules, and the Oracle threat forces units home.
- 03Fight
Blink Stalkers trade for 17 probes
ShoWTimE blinks into ByuN's natural, killing 17 probes while marines target down Stalkers.
Why it matteredThe worker damage is huge, but ShoWTimE loses Stalkers and delays his own plans.
- 04Scout
Medivac drop finds hidden proxy Nexus
A Medivac drop flies over ShoWTimE's proxy Nexus and reveals it on the minimap.
Why it matteredByuN can now react to the hidden base and stop ShoWTimE from mining it.
- 05Mistake
ShoWTimE transfers probes instead of recalling them
ShoWTimE moves probes from the proxy Nexus across the map, and ByuN sees it.
Why it matteredEach probe walks for half a minute, losing mining and signaling the base to ByuN.
- 06Finish
ByuN wipes four Colossi in the center
ByuN's Vikings and army target down ShoWTimE's Colossi, then the Protoss army collapses.
Why it matteredWithout Colossi, ShoWTimE cannot fight the Terran bio, and ByuN closes the series.
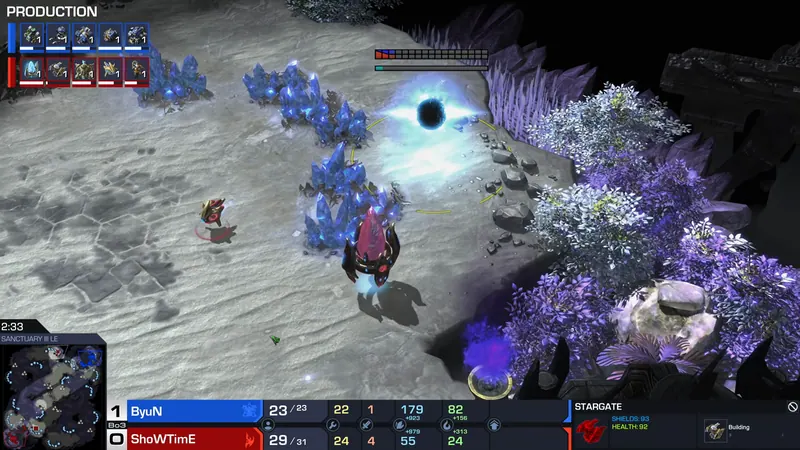
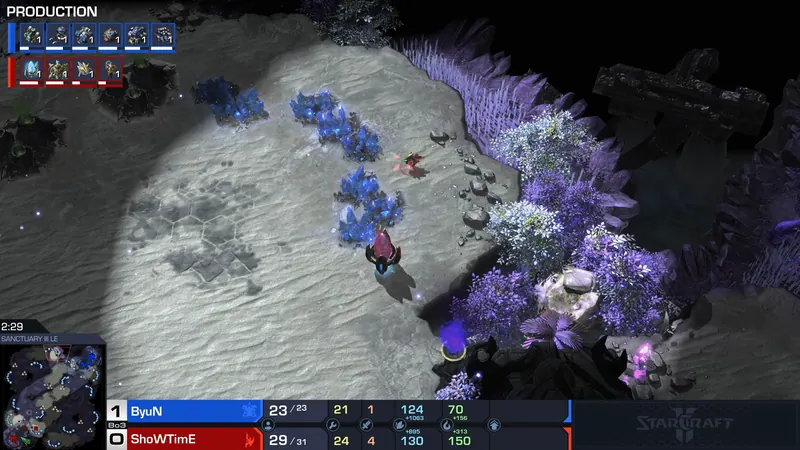
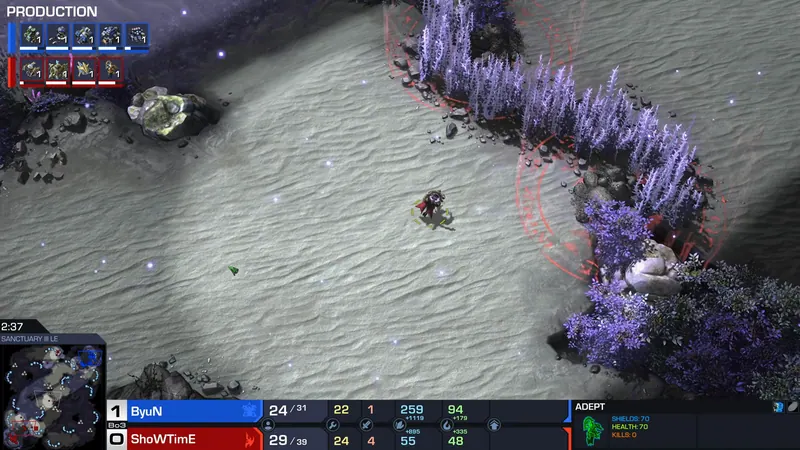
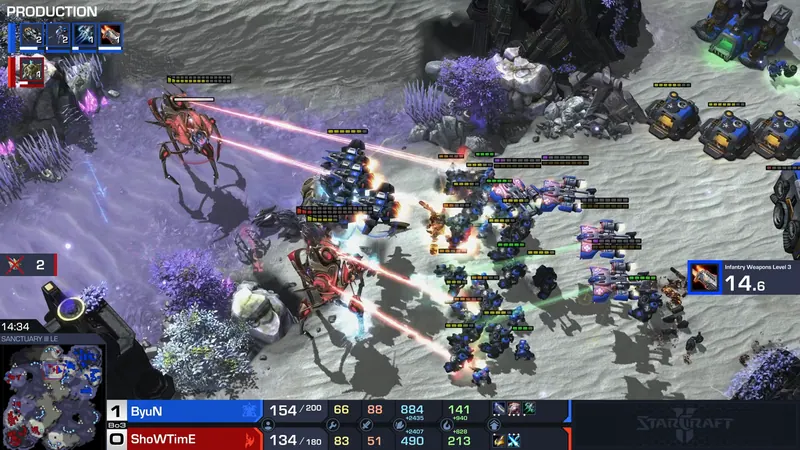
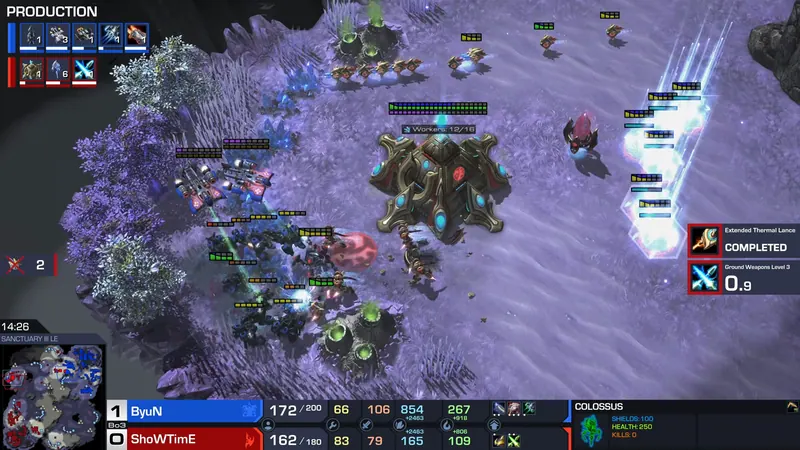
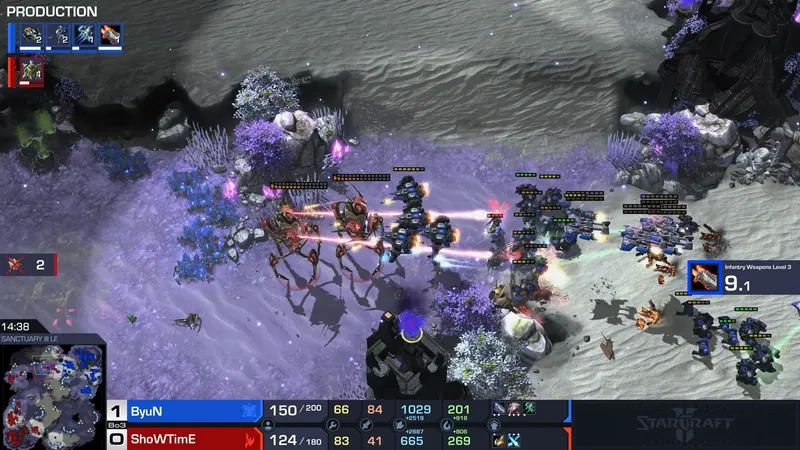
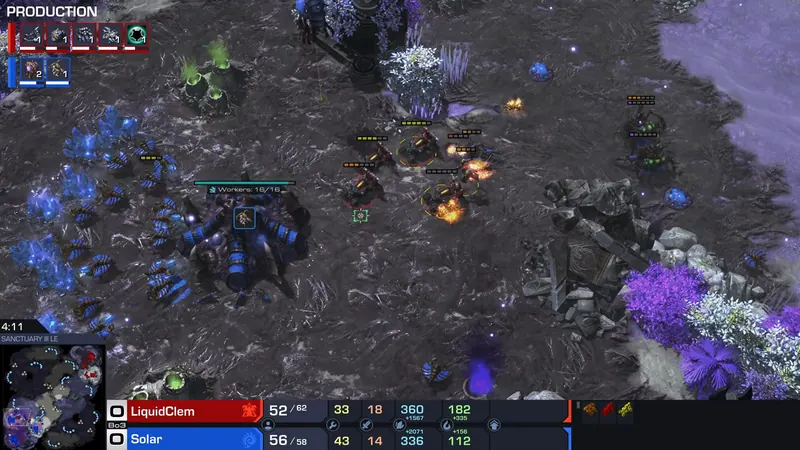
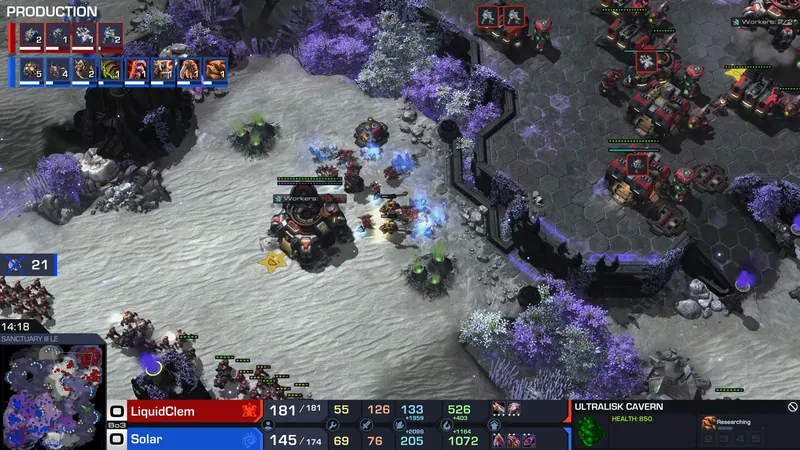
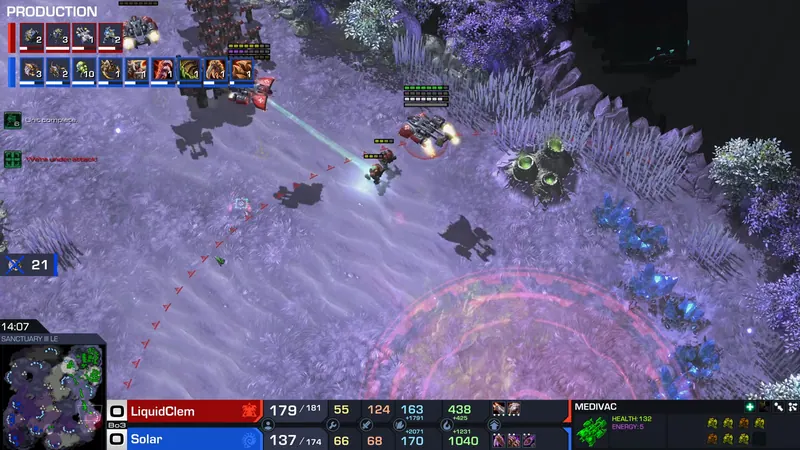
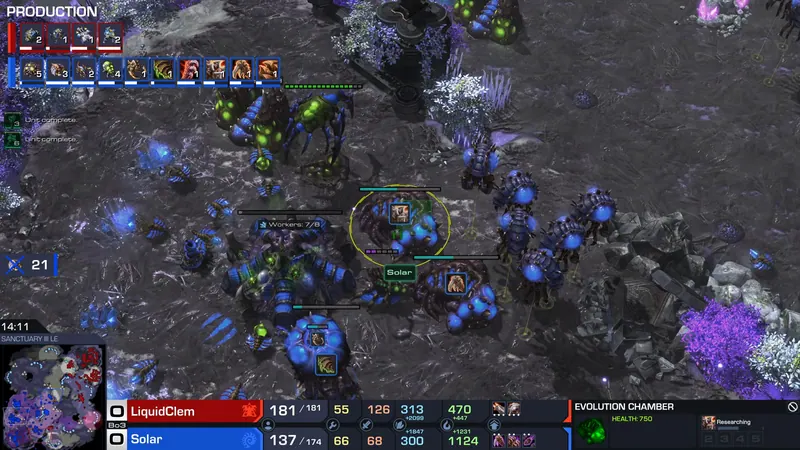
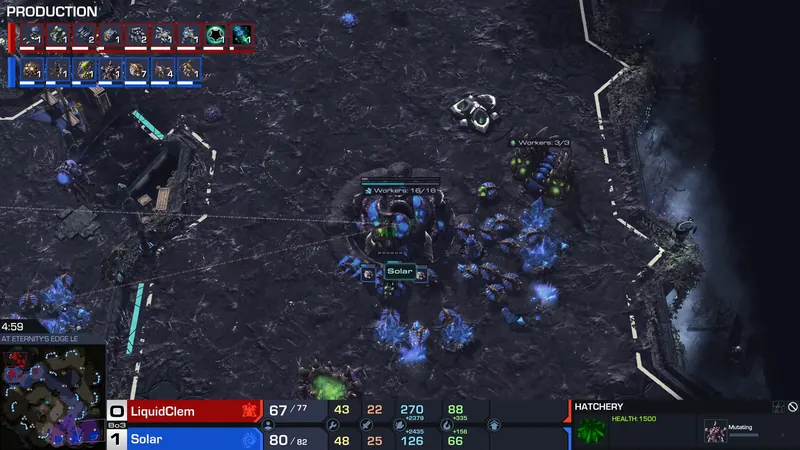
Solar survives Clem's aggression, wins with Ultralisks
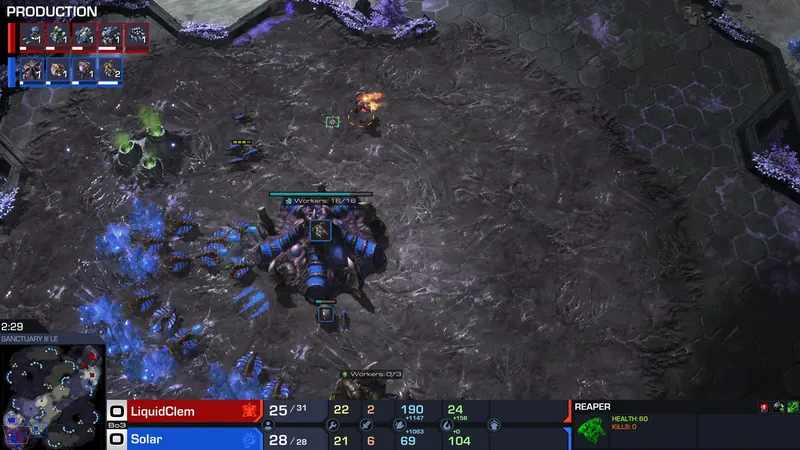
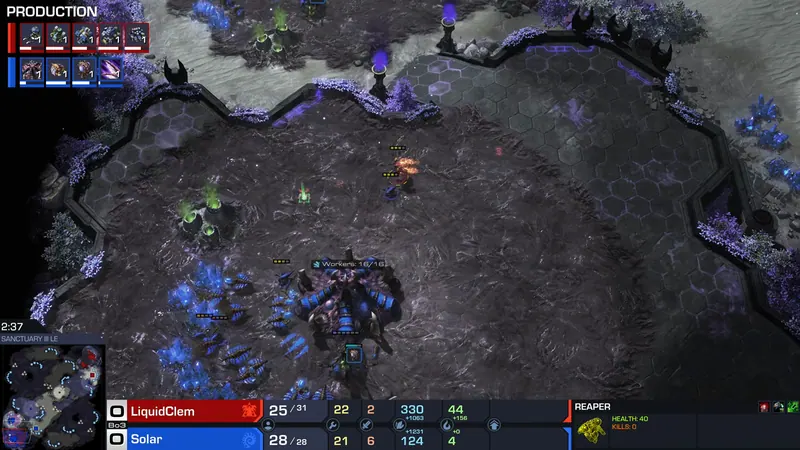
Clem opens Reaper into heavy Hellion pressure, kills drones and a fourth hatchery but loses too many Hellions. Solar defends with ling-bane-muta, snipes SCVs and a Planetary, and masses Ultralisks. Clem's three-base economy cannot support the needed tech, and he leaves without GG.
Key moments
- 01Scout
Reaper dances with Zerglings, scouts fast third
Clem's Reaper dances in Solar's main, dodges Zerglings, and sees a fast third.
Why it matteredClem confirms Solar's greedy opening and can respond with Hellion pressure.
- 02Fight
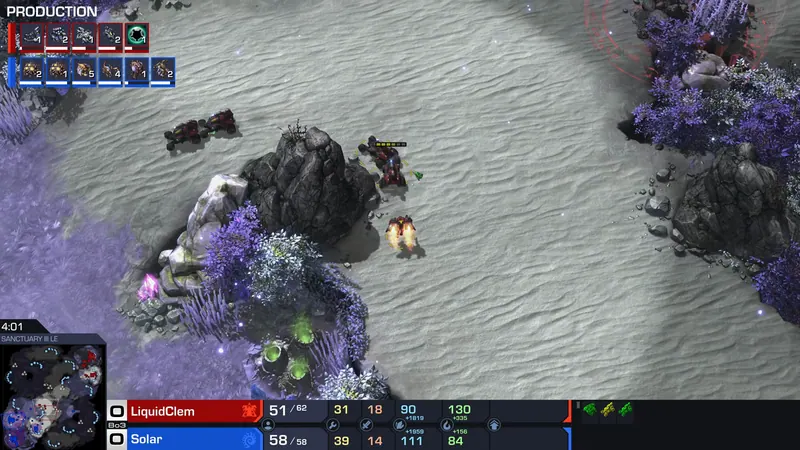
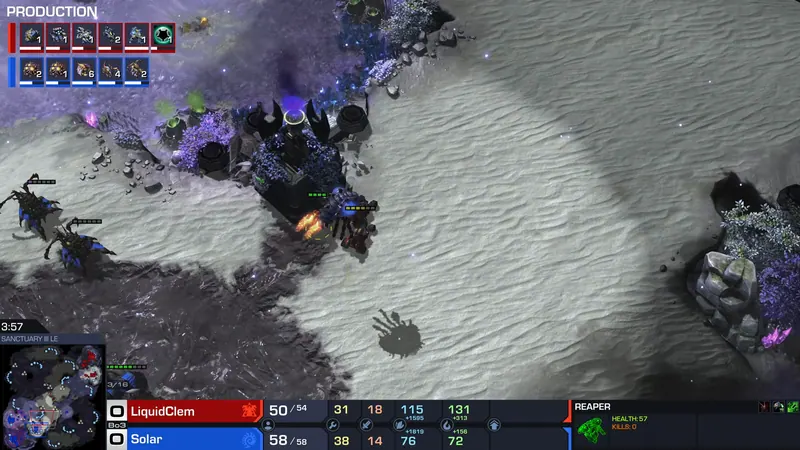
Clem's Hellions roast drones then all die
Clem commits four Hellions into Solar's natural, kills drones but loses them to Queens and lings.
Why it matteredTerran falls behind because the first Hellions are gone and follow-up pressure is weaker.
- 03Fight
Clem target-fires banelings, misses hatchery kill
Clem's marines snipe seven banelings before they connect, but Solar saves the hatchery.
Why it matteredPerfect target fire keeps marines alive, but Clem gets pushed off the base.
- 04Finish
Ultralisks force Clem out of game one
Solar morphs Ultralisks as banelings kill the Planetary, and Clem lifts to a fourth.
Why it matteredClem cannot fight Ultralisks on a three-base economy and leaves without GG.
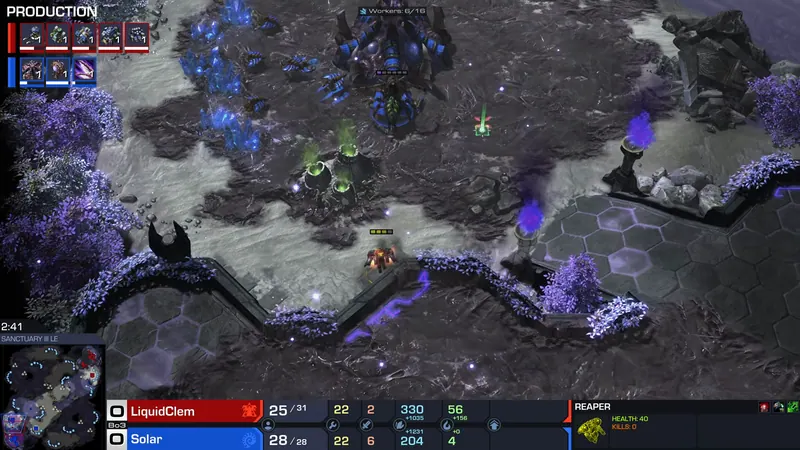
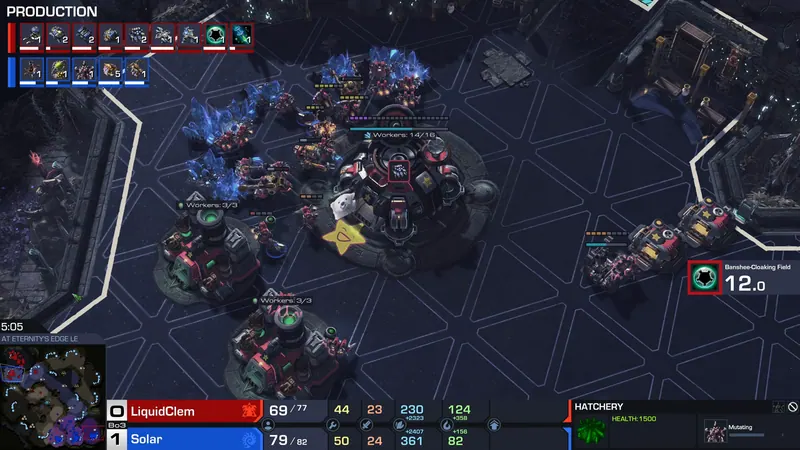
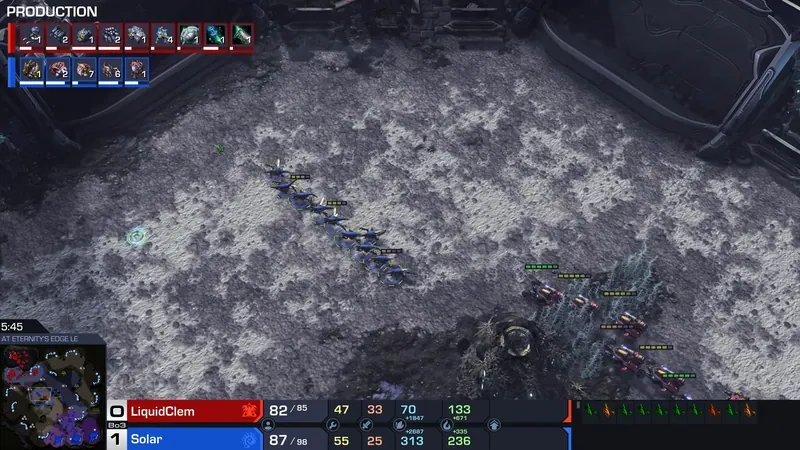
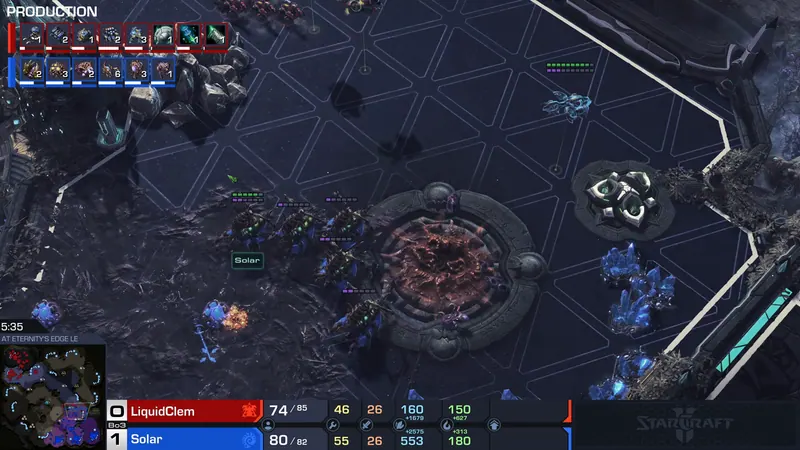
Clem's banshee pressure snowballs after Solar lags
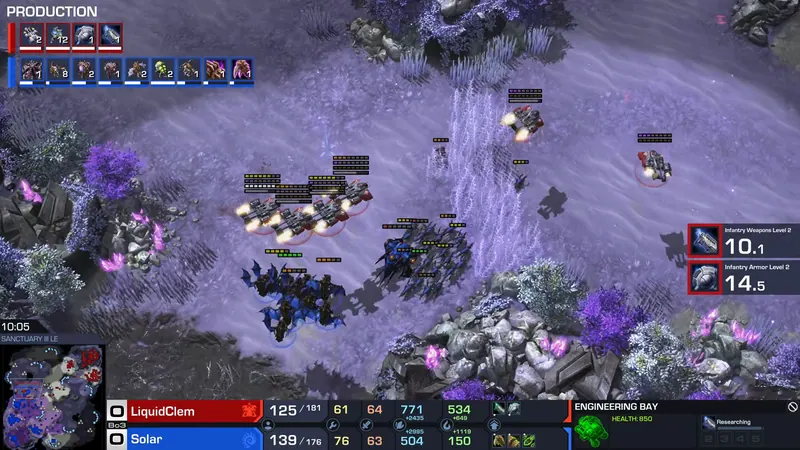
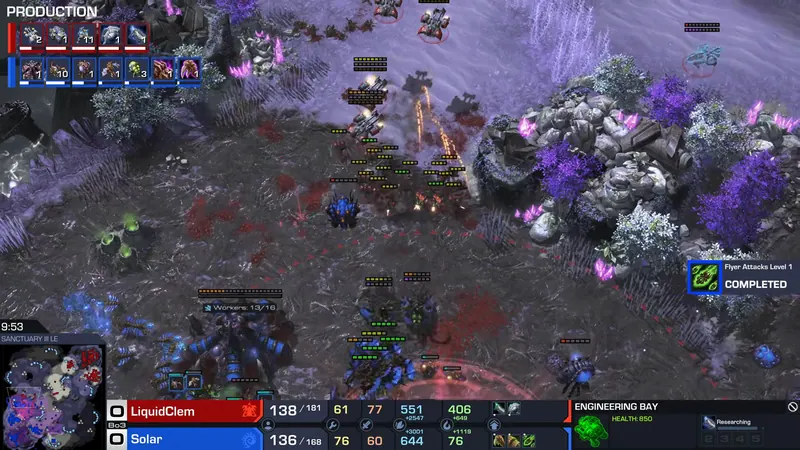
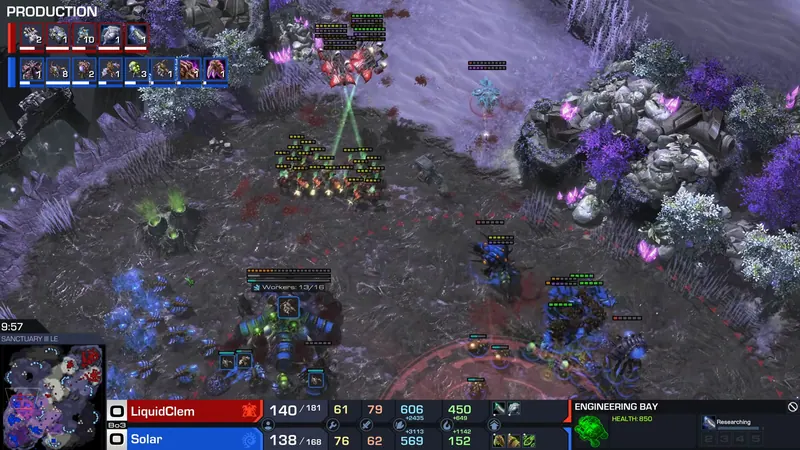
Game two starts with Solar lagging. Clem resumes with a two-base banshee opener, cancels Solar's third, and kills drones. Solar cannot hold the pressure and leaves without GG, letting Clem tie the series.
Key moments
- 01Fight
Clem starts Banshee-Marine pressure
Clem produces Banshees and marines from a lab and moves them toward Solar's side.
Why it matteredThe two-base aggression forces Solar to defend and sets up the third cancel.
- 02Turning point
Clem cancels Solar's third hatchery
Clem's Banshees and marines focus down Solar's third hatchery before it finishes.
Why it matteredSolar loses a base and cannot stabilize against Clem's follow-up.
- 03Finish
Clem kills drones; Solar leaves without GG
Clem's units kill more drones, and Solar leaves the game without a GG.
Why it matteredSolar cannot hold the pressure and concedes game two to Clem.
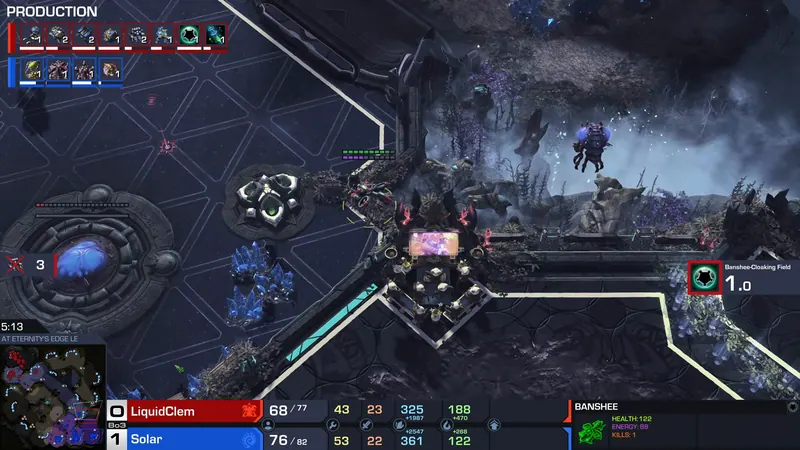
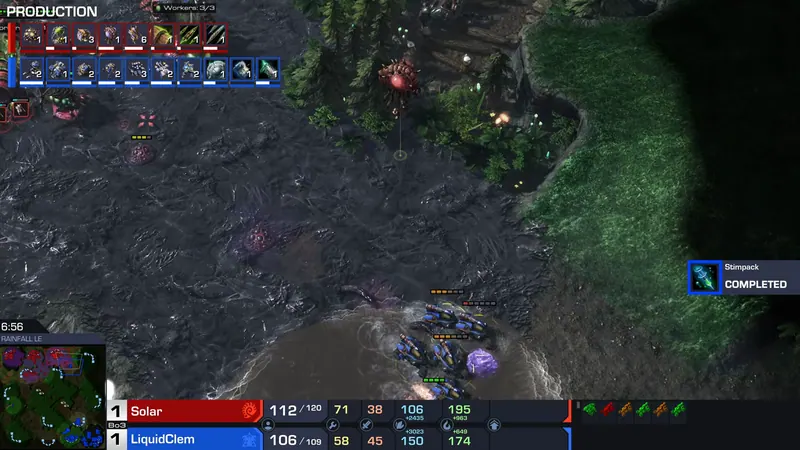
Solar's Hydra timing overruns Clem
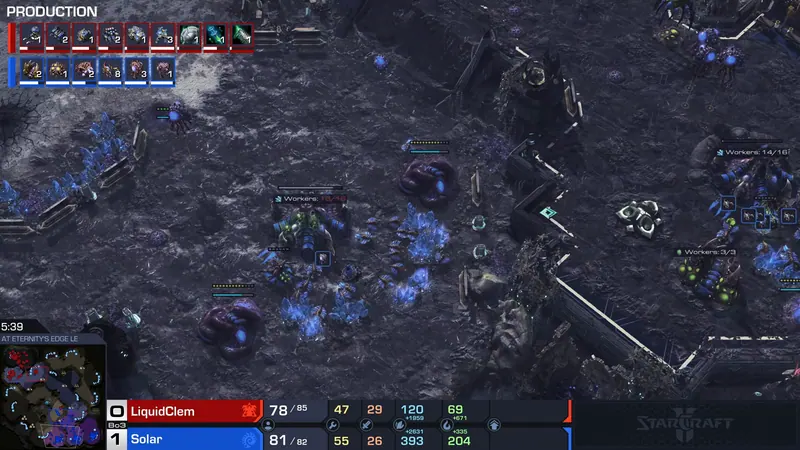
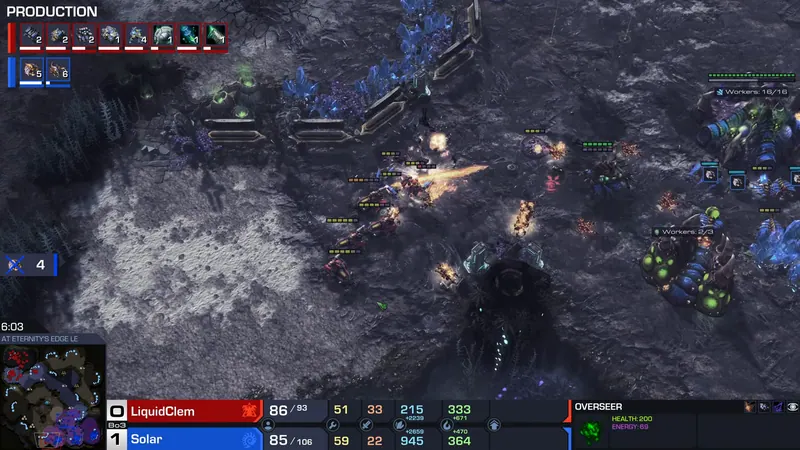
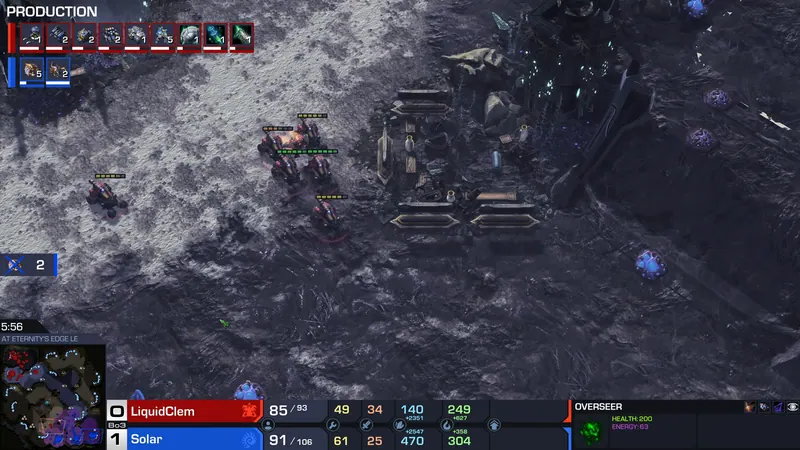
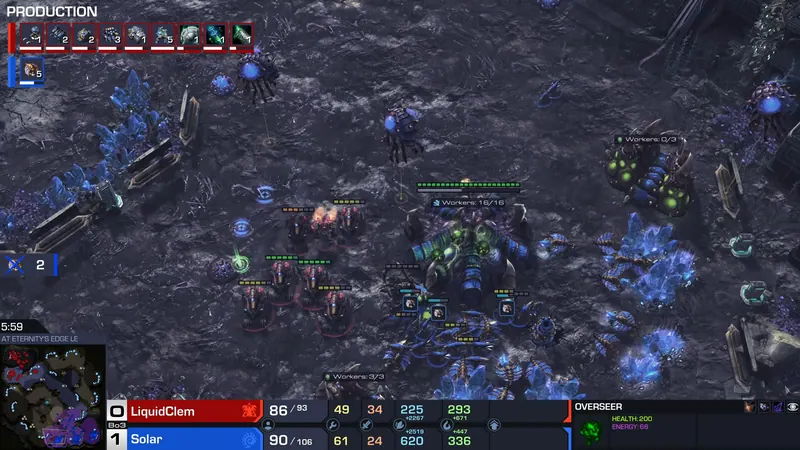
Solar opens with Zergling harass, killing SCVs while Clem rallies away. He turtles into a plus-one Hydra-bane timing. Clem loses Medivacs and cannot stabilise his bio force, and Solar's final push ends the series.
Key moments
- 01Harass
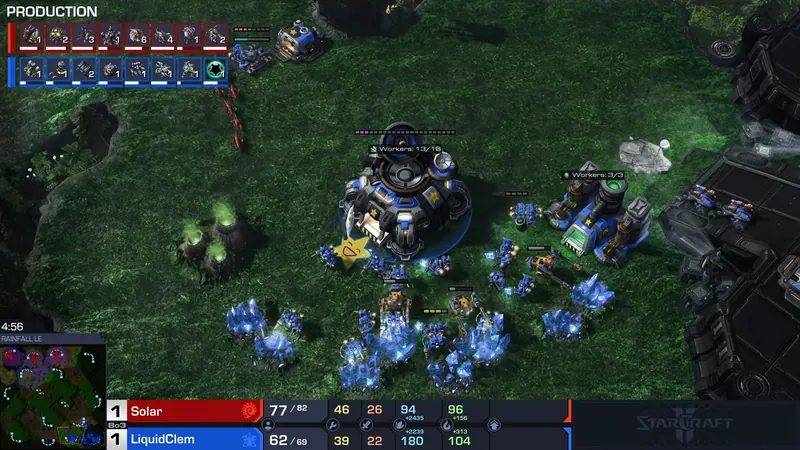
Zerglings kill four SCVs
Solar's first Zerglings run into Clem's mineral line and kill four SCVs.
Why it matteredIt gives Solar an early worker lead and information on Clem's opener.
- 02Mistake
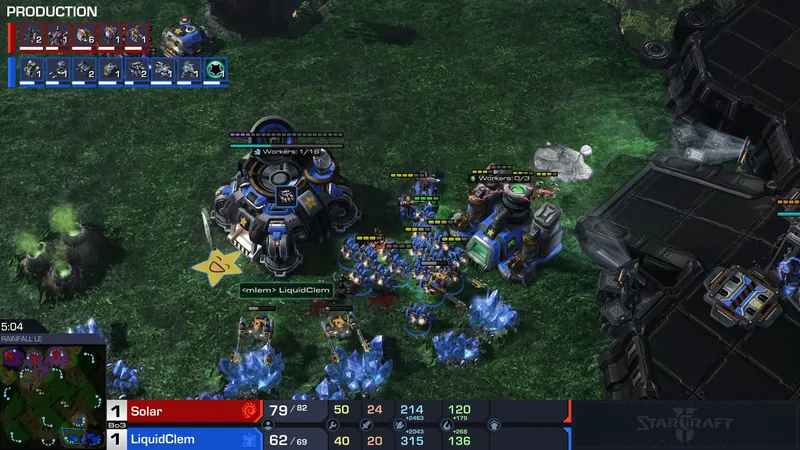
Clem's rally leaves his main open to lings
Zerglings enter Clem's base while his Hellions are rallied across the map.
Why it matteredClem loses more SCVs and Solar scouts the entire Terran build.
- 03Tech switch
Solar reveals a plus-one Hydra timing
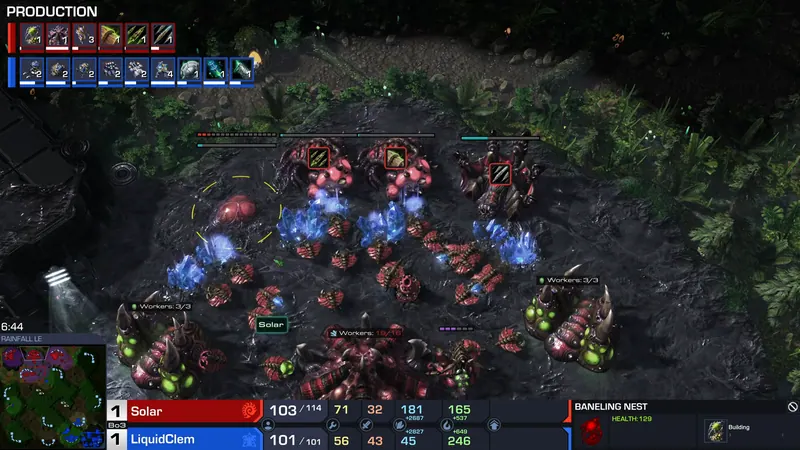
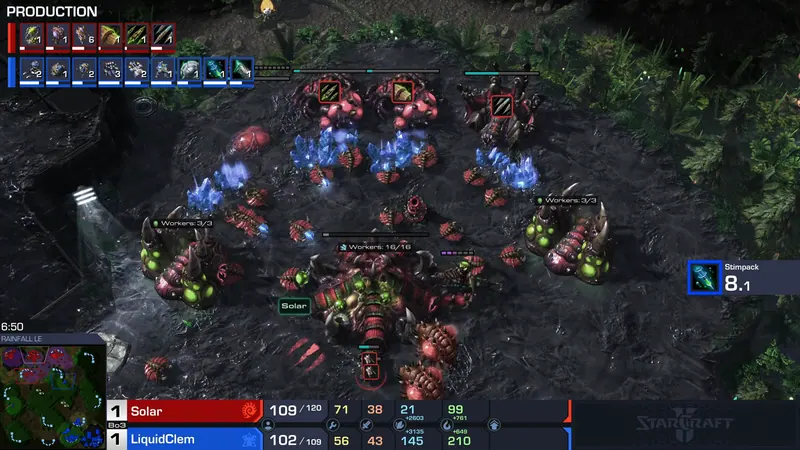
Solar starts plus-one missile and builds a Hydra den with baneling support.
Why it matteredHe plans a rare Hydra timing that punishes Clem's delayed tanks.
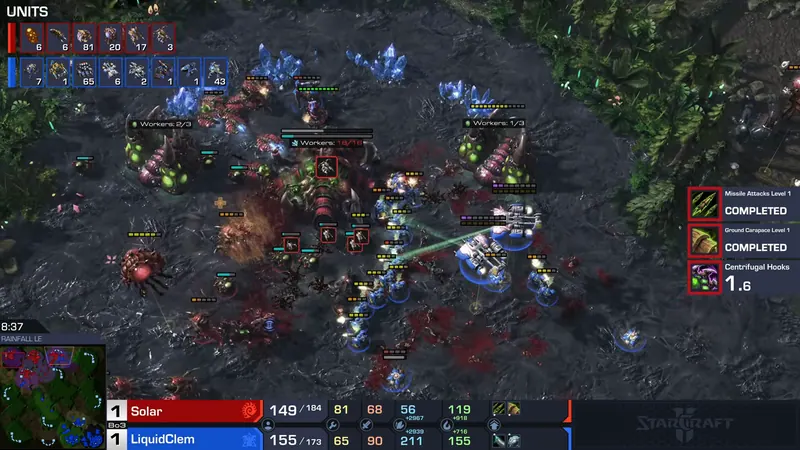
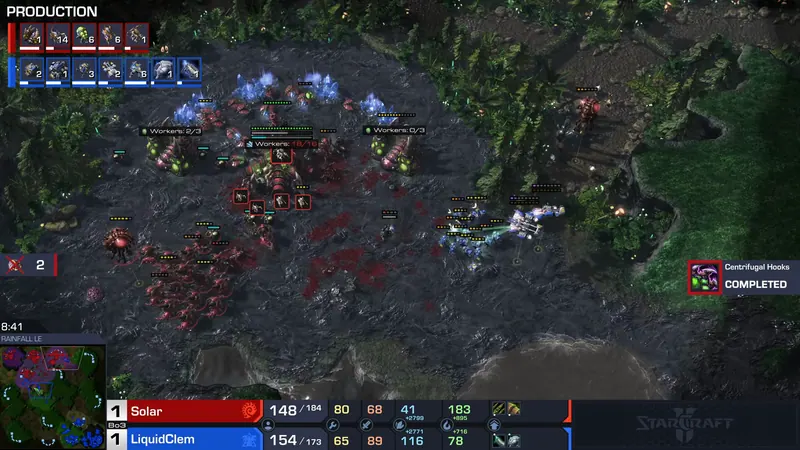
- 04Fight
Hydras and banes pick off Terran Medivacs
Solar's Hydras and banelings engage Clem's push, killing several Medivacs.
Why it matteredClem loses healing and mobility, so his marines cannot stay alive against Hydras.
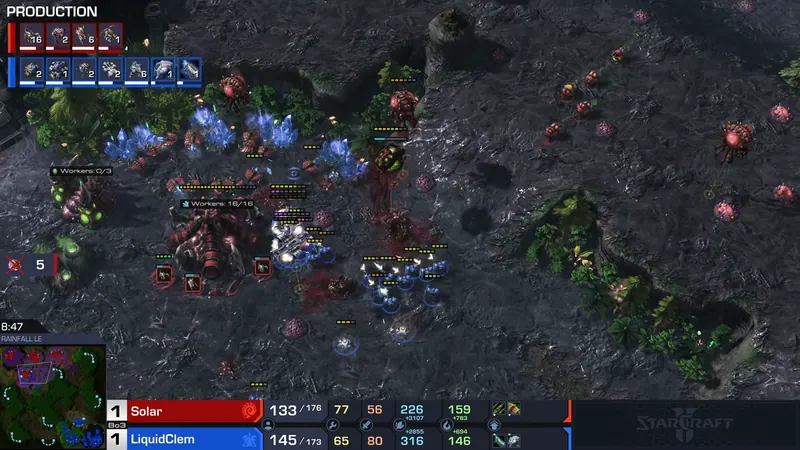
- 05Finish
Hydra-bane army overruns Clem's last defense
Solar pushes with plus-one Hydras and banelings into Clem's army near the final base.
Why it matteredClem has no answer to the Hydra-bane push and leaves, giving Solar the series.
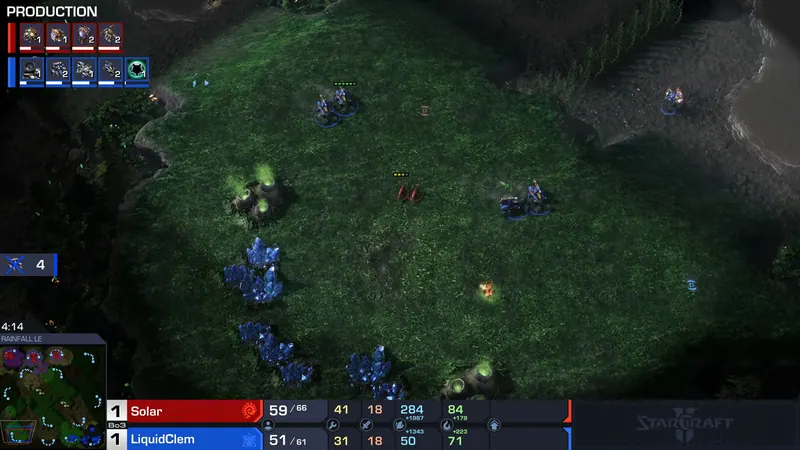
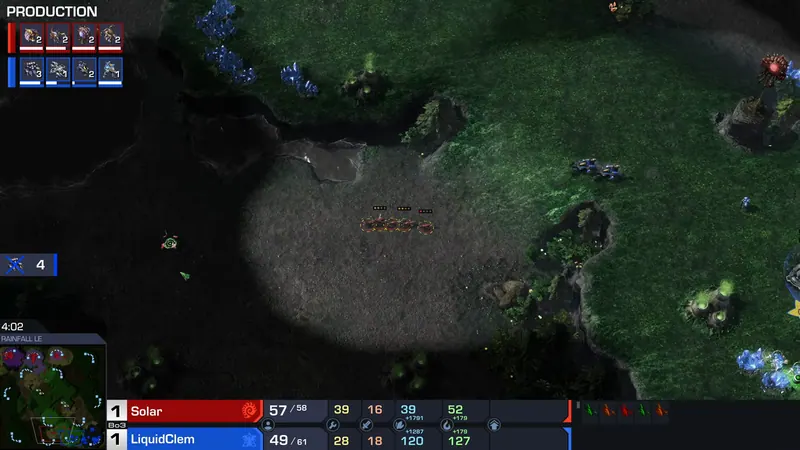
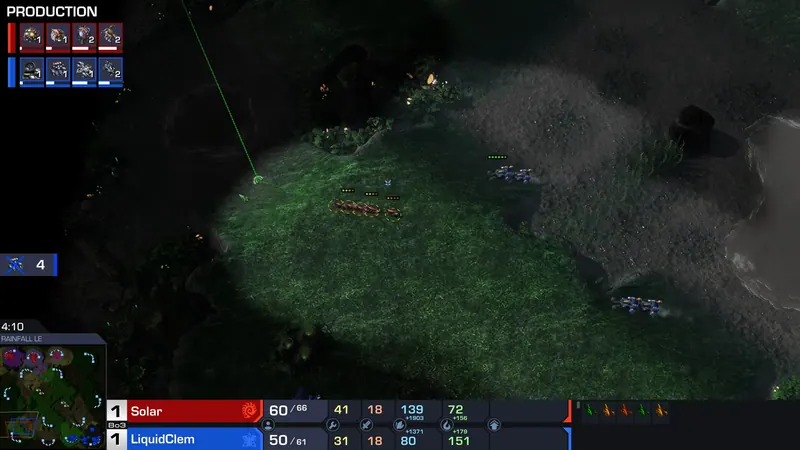
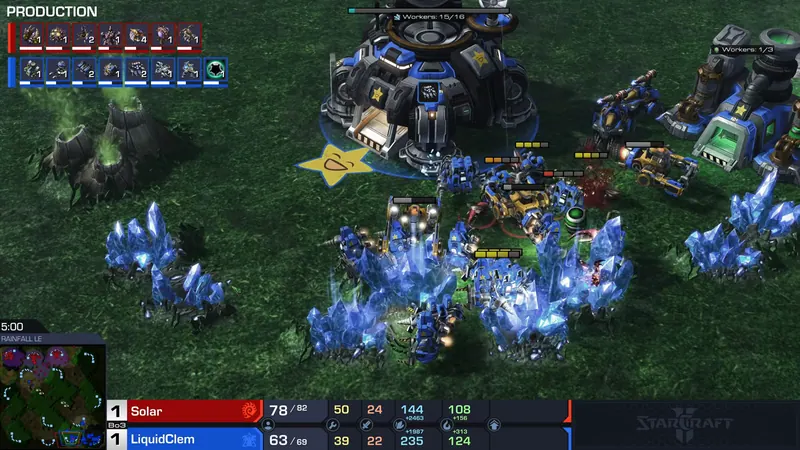
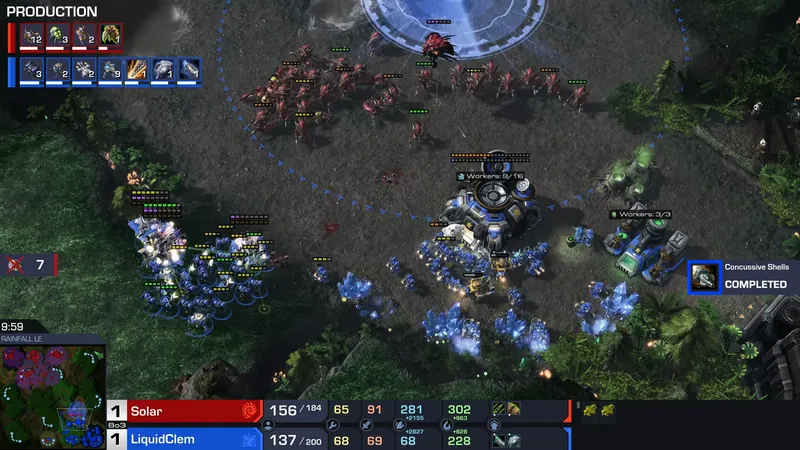
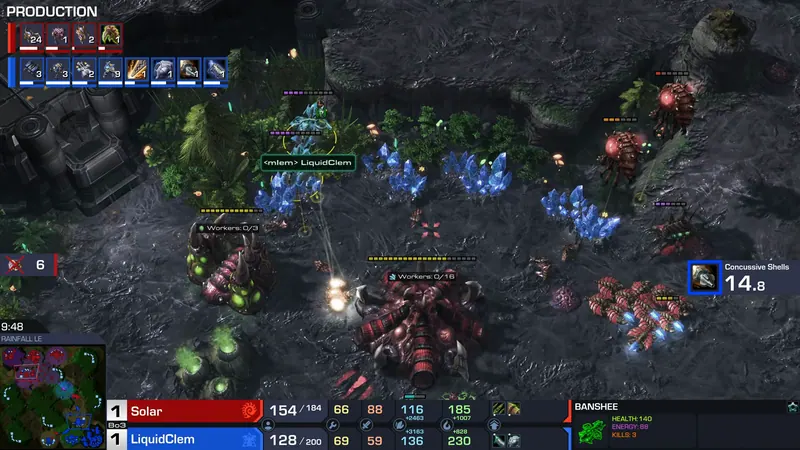
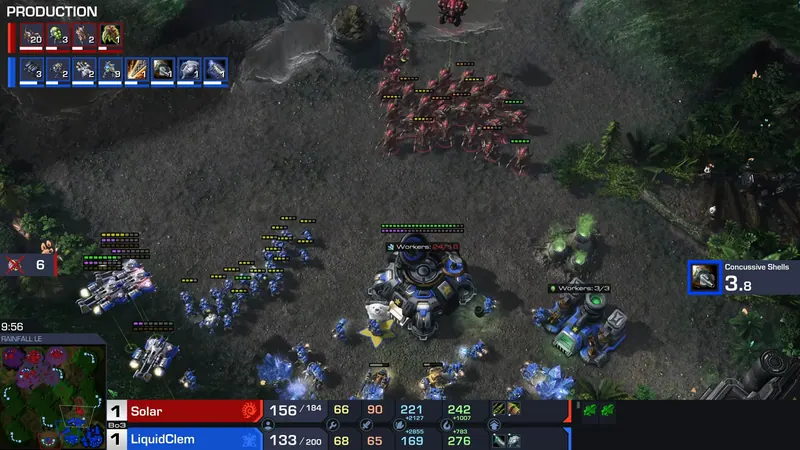
Footage and commentary: LowkoTV on YouTube. Each still links to that second of the video. Written from the commentary, so it can miss what the caster didn't mention.
Want this for your own games?
Upload a replay. The AI Coach picks out the moments that decided it and what to do differently.
Drop a replay file here
.SC2Replay or .rep, or click to choose a file
Replay upload is available on desktop browsers where local replay files are normally stored.
Open upload page